Earlier in the year my main PC failed. The board was dead and it wasn’t the PSU as I have a PSU tester and it tested out fine. The PC was long overdue an upgrade, so I went ahead with that. More on that in another post.
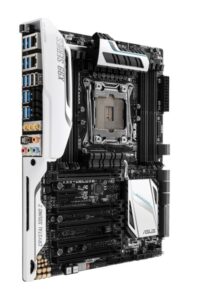
ASUS X99 Deluxe-II
The system was an ASUS X99 Deluxe-II motherboard, an Intel Core i7-6900K CPU, and 32GB of Corsair Vengeance LPX DDR4 RAM, which I bought as a bundle from Scan in August 2016 at a fairly eye-watering price. Quite modest by today’s standards but by no means junk, and has served me well.
The motherboard is LGA 2011-3 just like my current dual Xeon Workstation, and is capable of using Xeon CPUs, so in order to test whether the failure was the CPU or the motherboard, and at a risk of attracting sharks, I borrowed a Xeon from the workstation and put it in the X99. It booted up fine, indicating that the motherboard was ok but the i7-6900K was fried. I put the Xeon back in the workstation and that was that. No sharks involved this time.
As a stopgap, I bought a Xeon E5-2630 v4 (10 cores / 20 threads) for £5.50 on eBay to get it going again, used a spare Cooler Master 212 cooler as I have several of them now, and threw it in an old case. Didn’t get a lot of use after that.
But now I have decided to turn it into a period-correct mid 2010’s PC for a bit of fun and also because I want to retire the aforementioned dual Xeon Workstation as my 2nd PC.
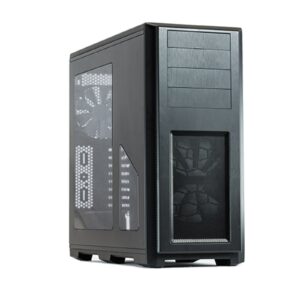
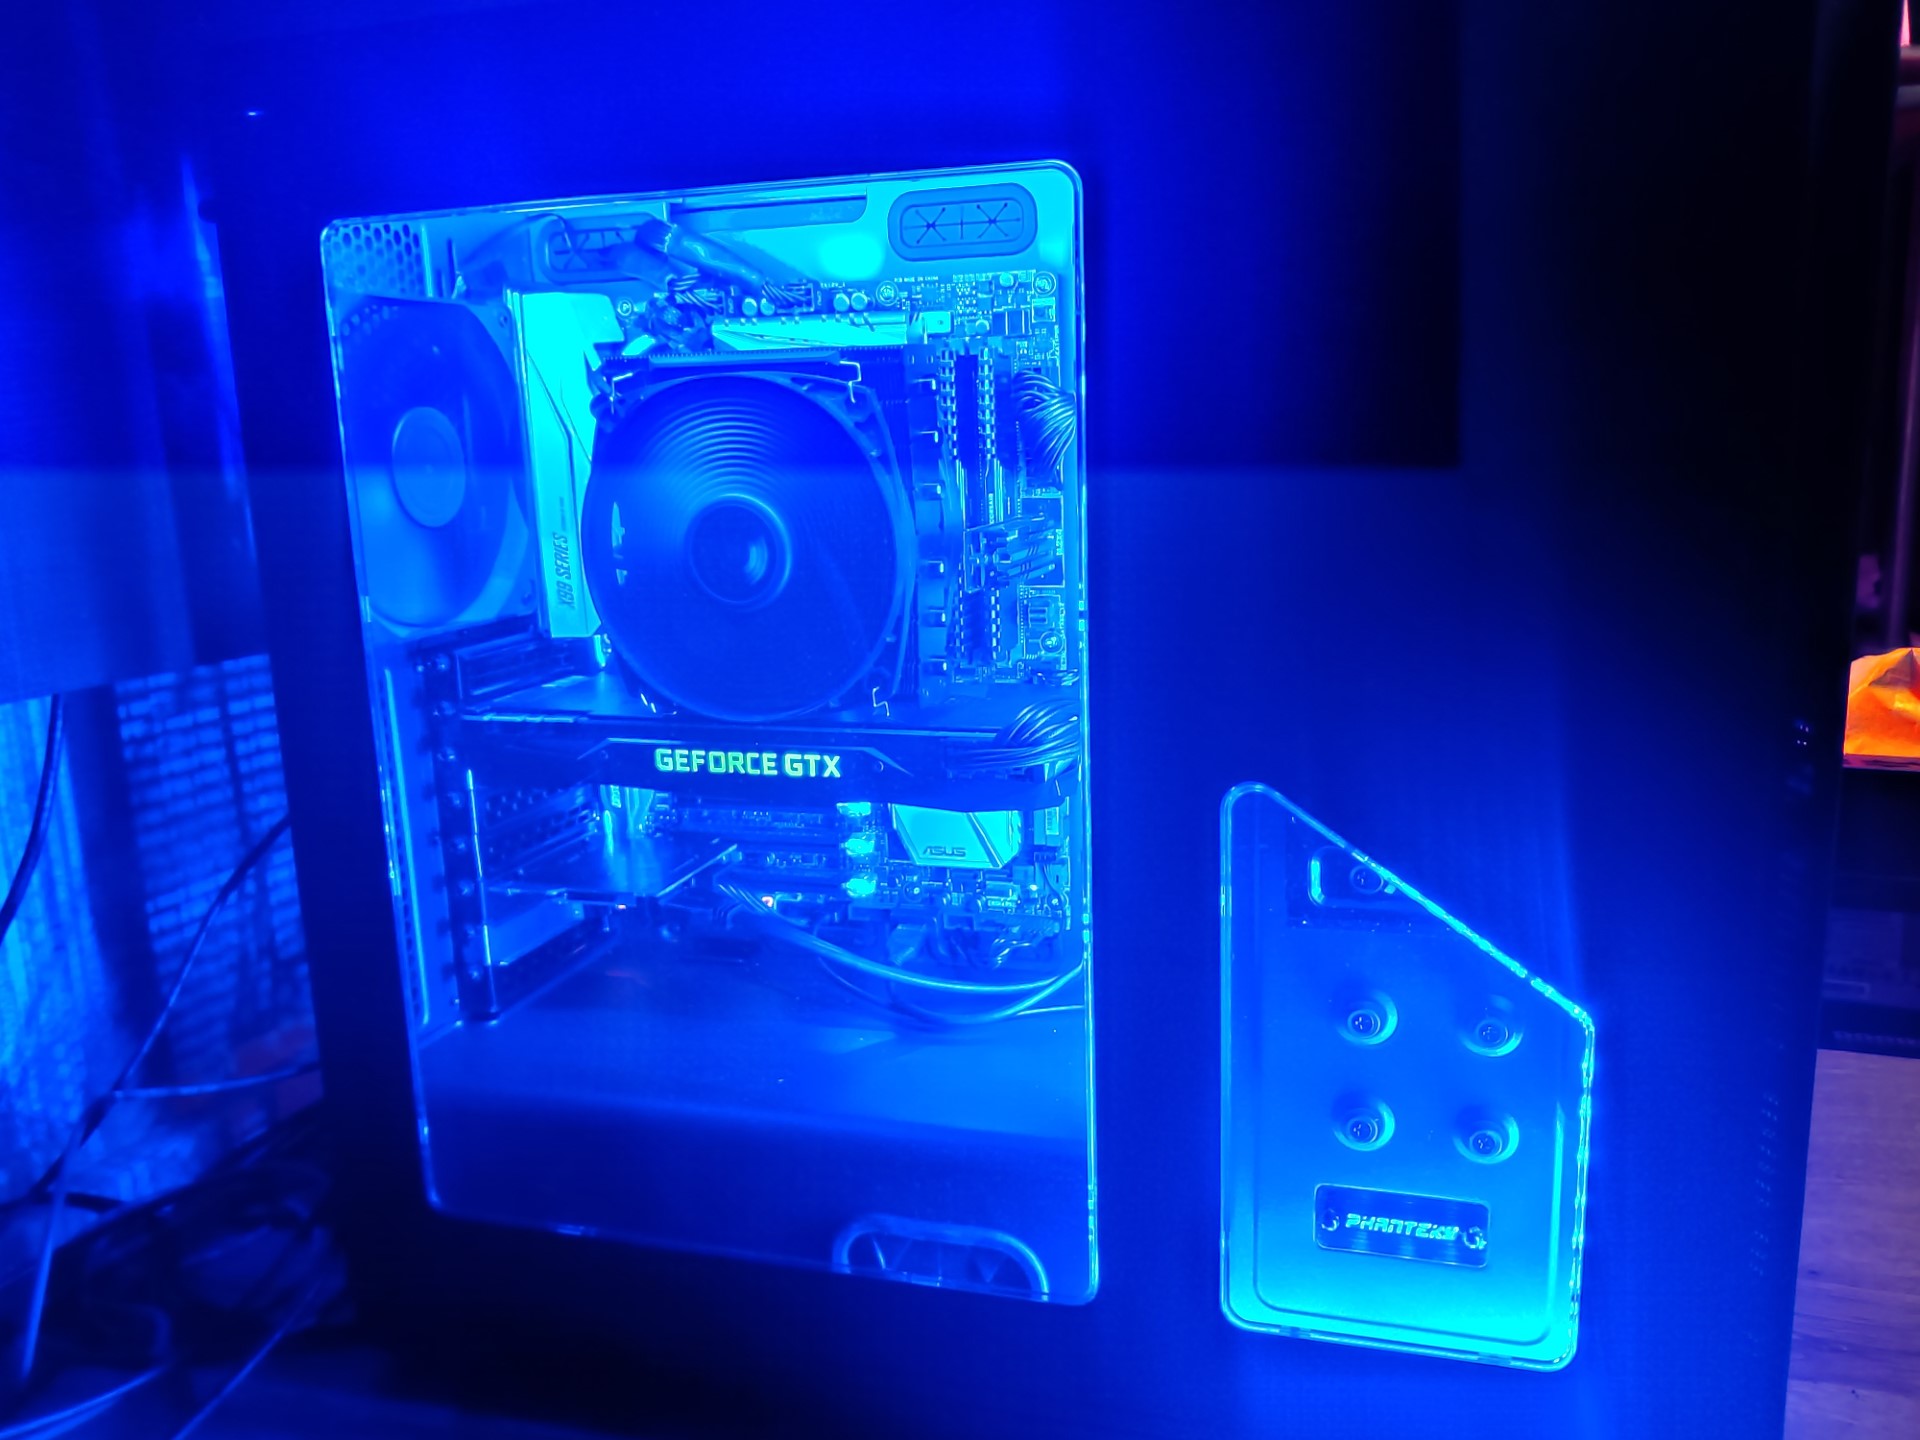
Phanteks Enthoo Pro
For the case, I wanted something period-correct but new-old stock. As luck would have it, it is still possible to buy the Phanteks Enthoo Pro full tower case brand new even though it was released in 2014. So that seemed ideal. I bought it from Overclockers UK via Amazon.
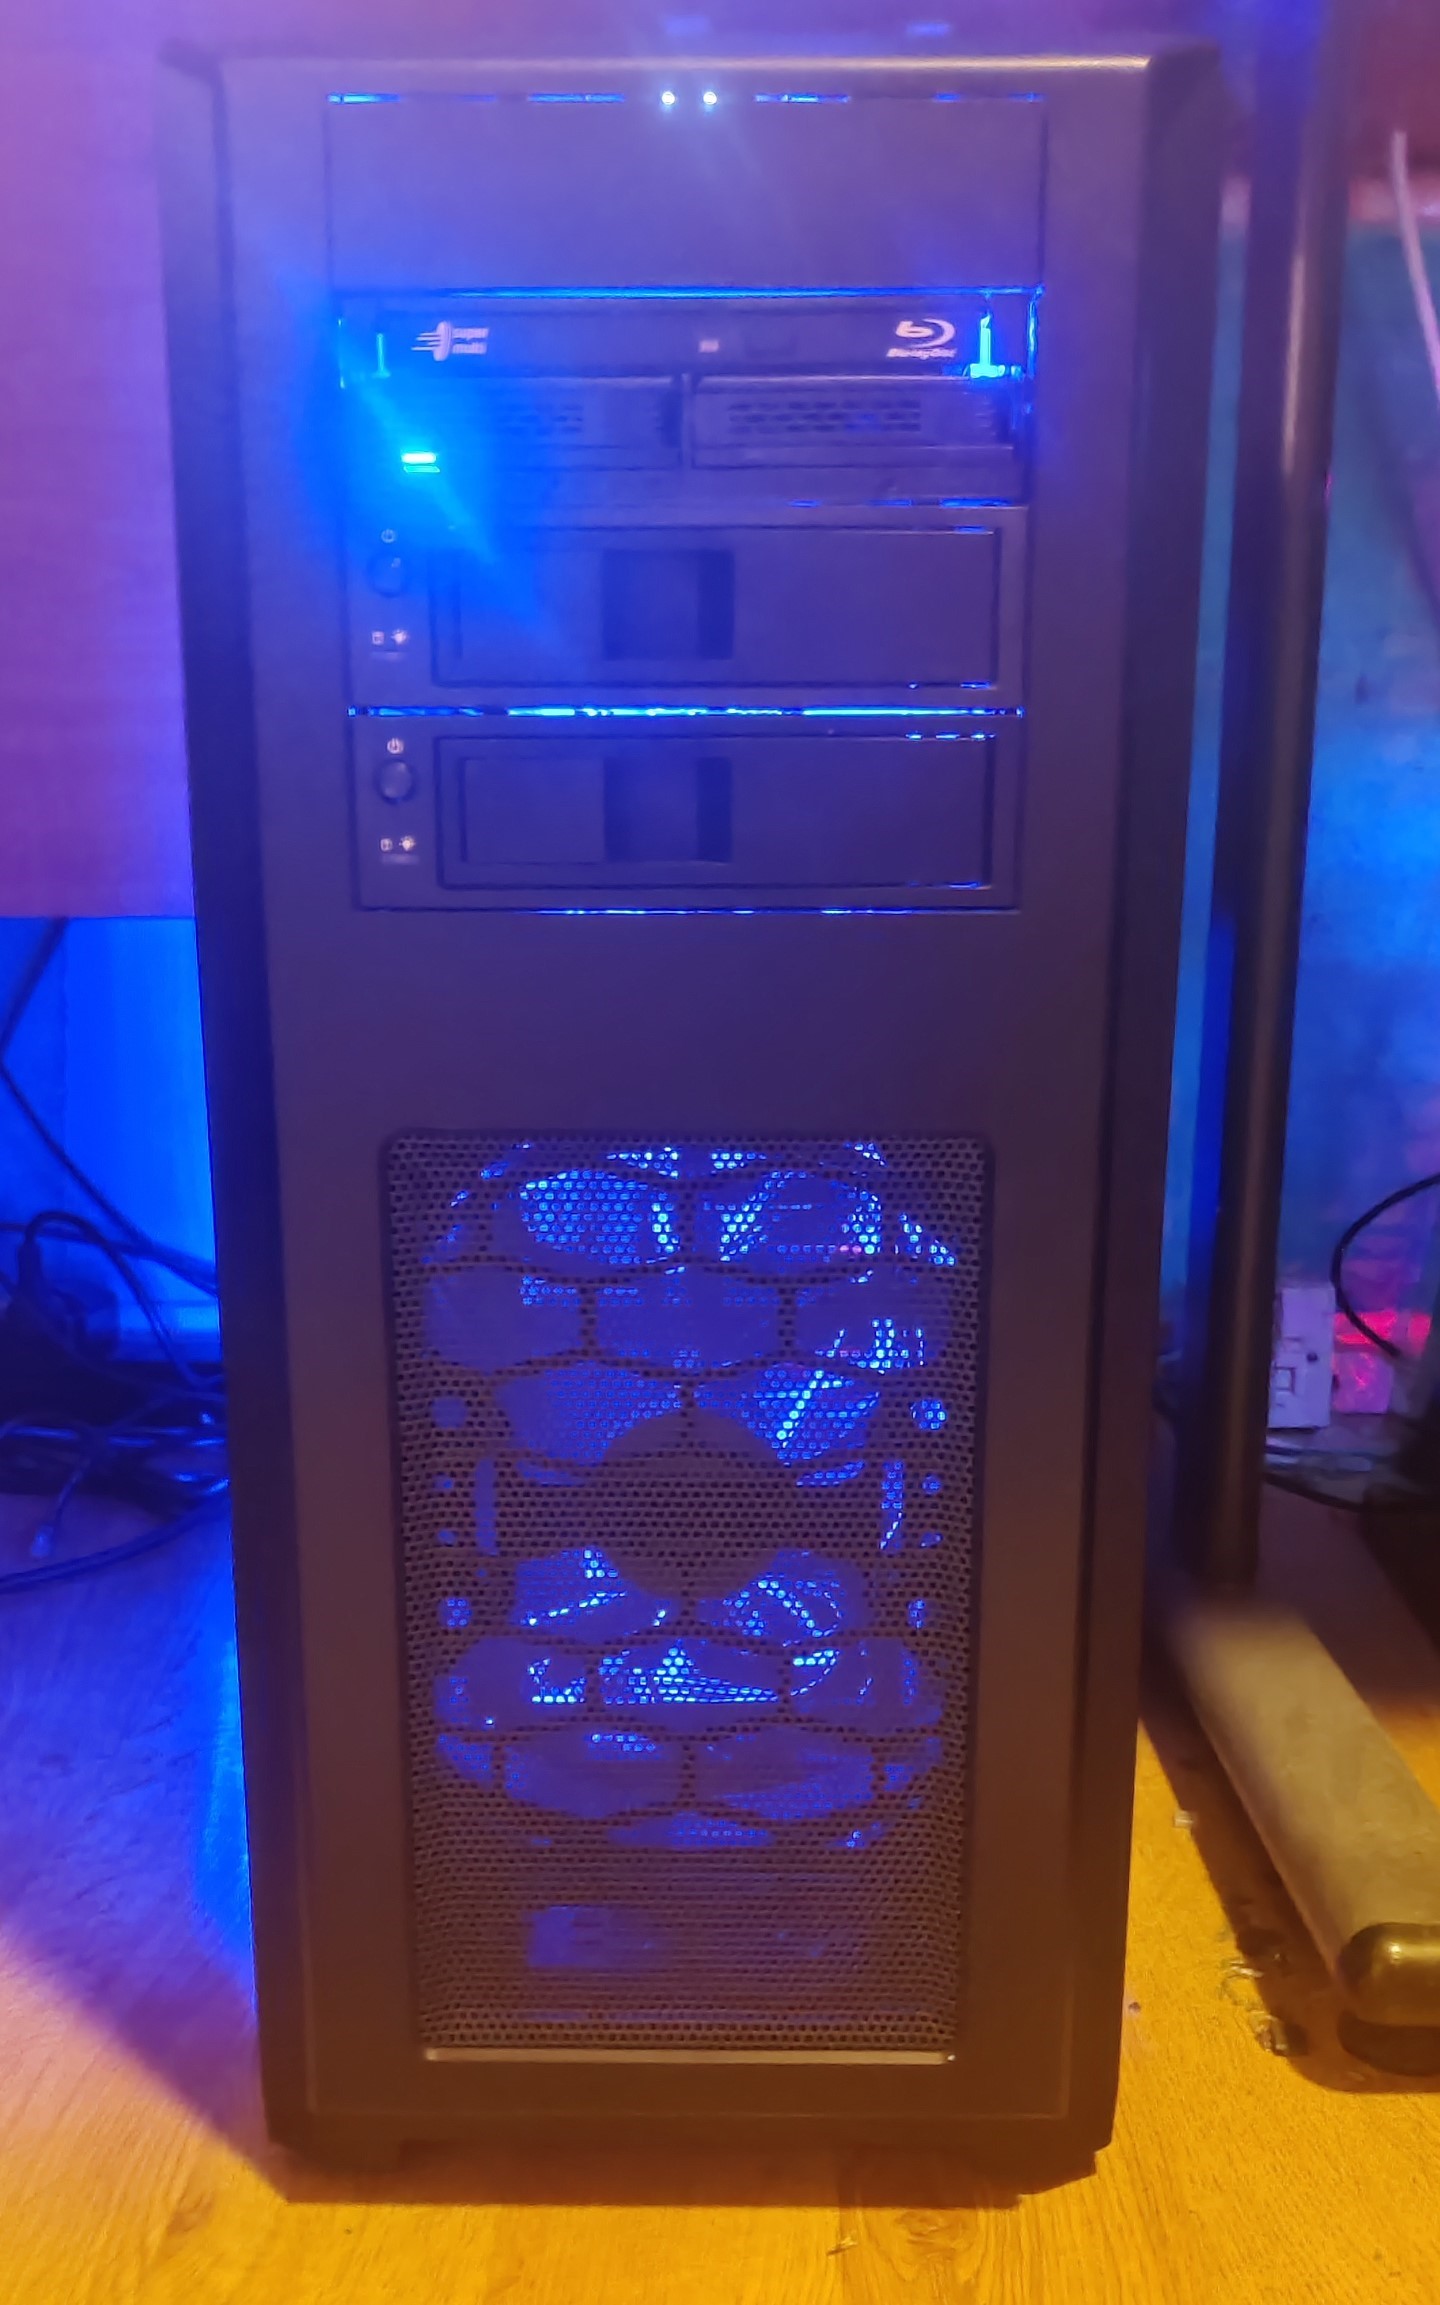
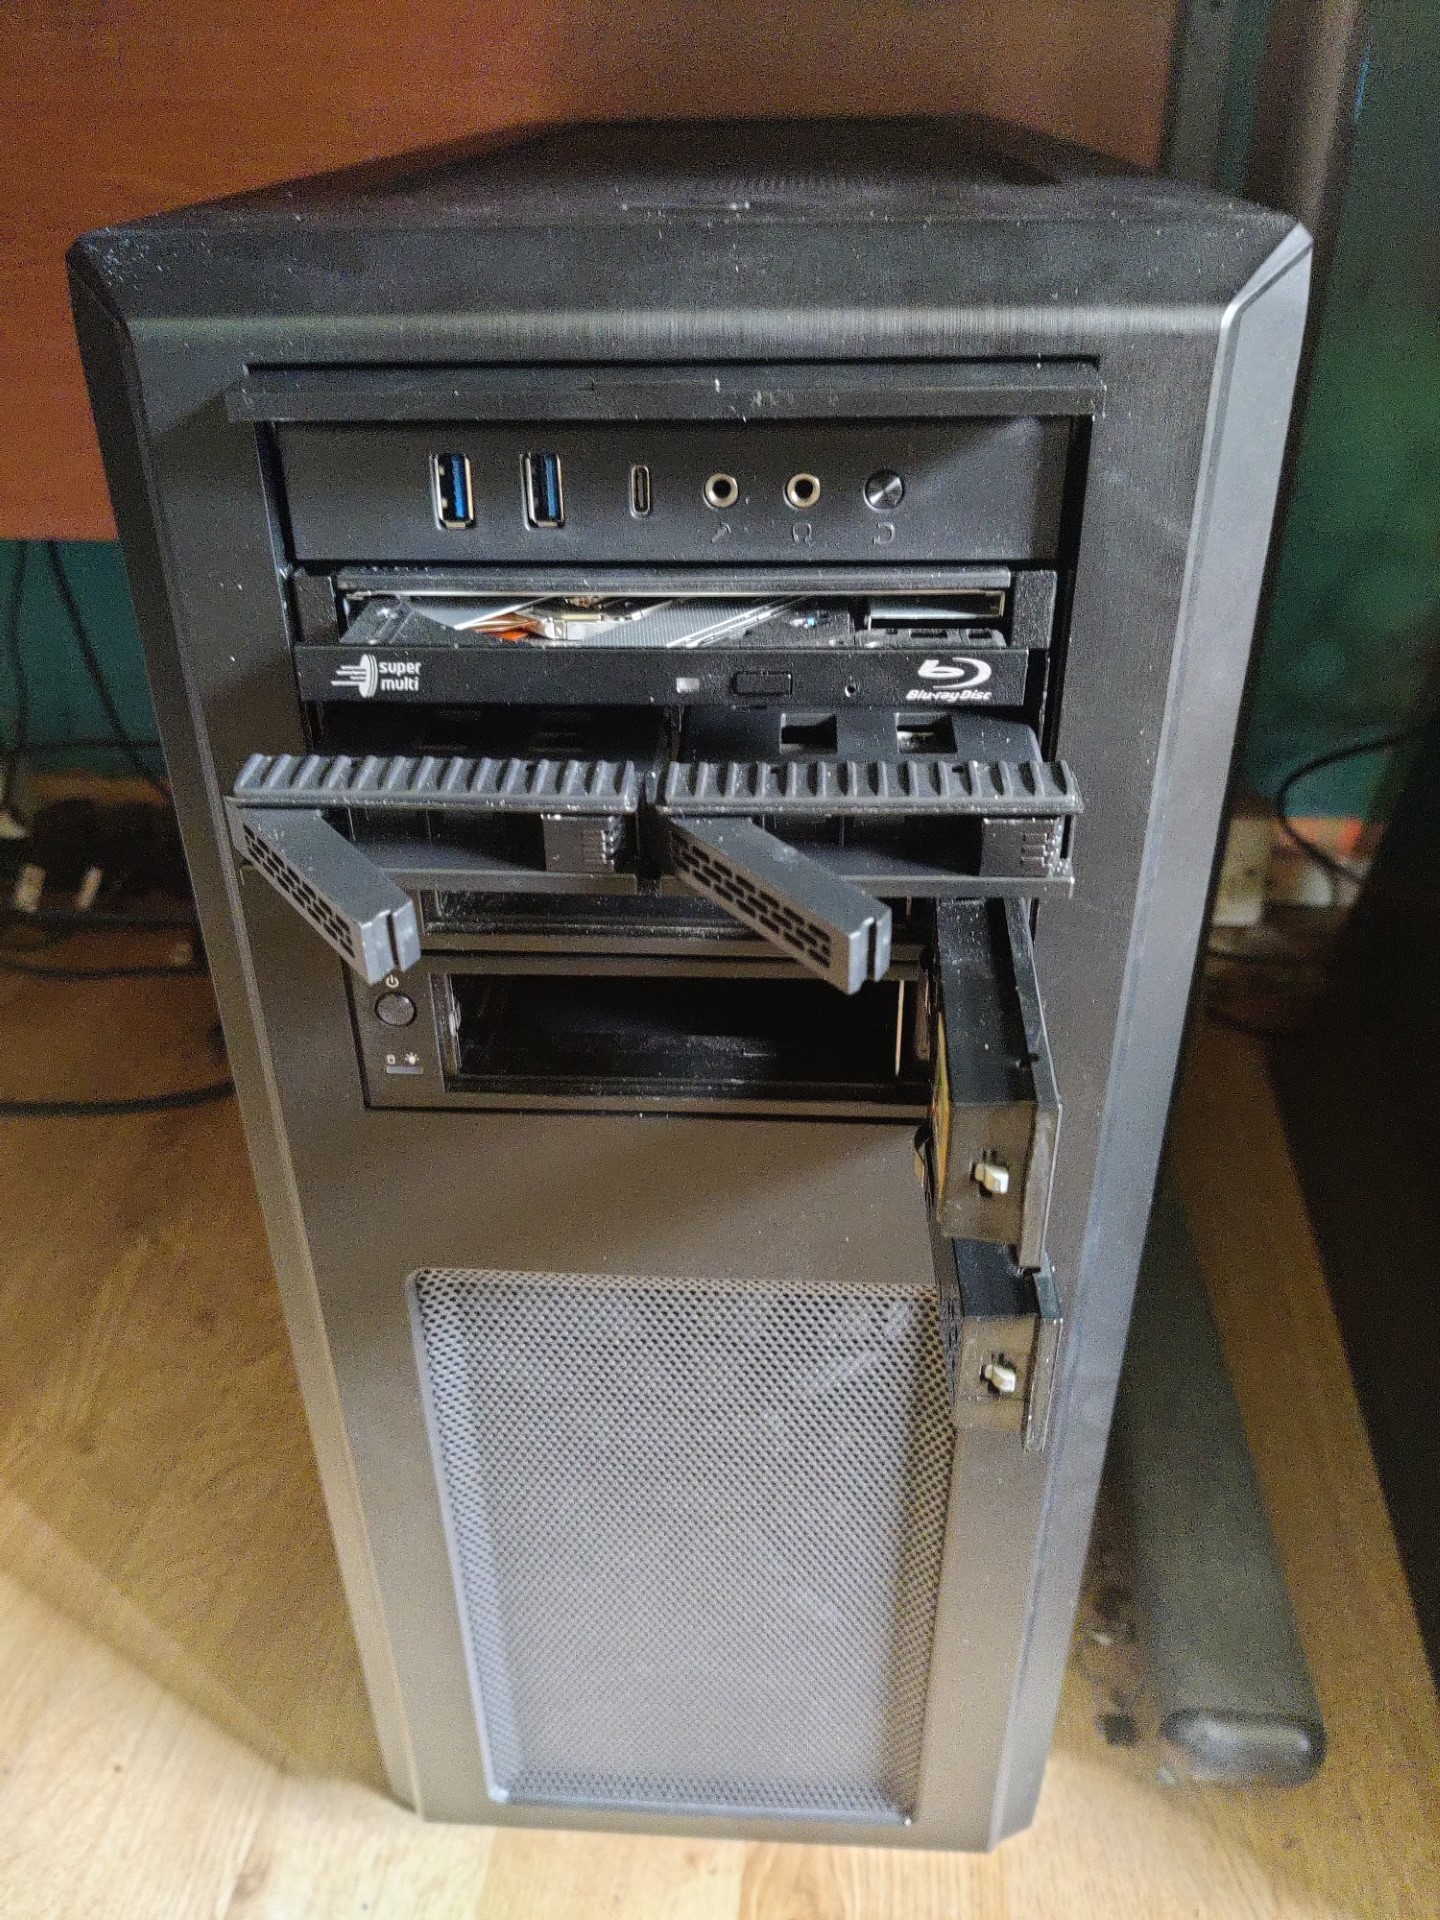
Slightly annoyingly, although the case looks like it has four external drive bays, it actually only has three as the one at the top is a flap that hides the USB ports, the audio ports, and the reset button.
(Update: Apparently it can actually be converted into a 4th drive bay if you don’t mind losing front panel USB ports, audio ports, and the reset button.)
The Xeon CPU was always a stop gap, so I looked into what would be an ultimate CPU for the build. I did consider the Core i7-6950X 10-core 3.0GHz CPU but in the end I decided to simply get another Core i7-6900K 8-core 3.2GHz CPU to replace the one that failed. I sourced one for £50 which was actually a below-average price.

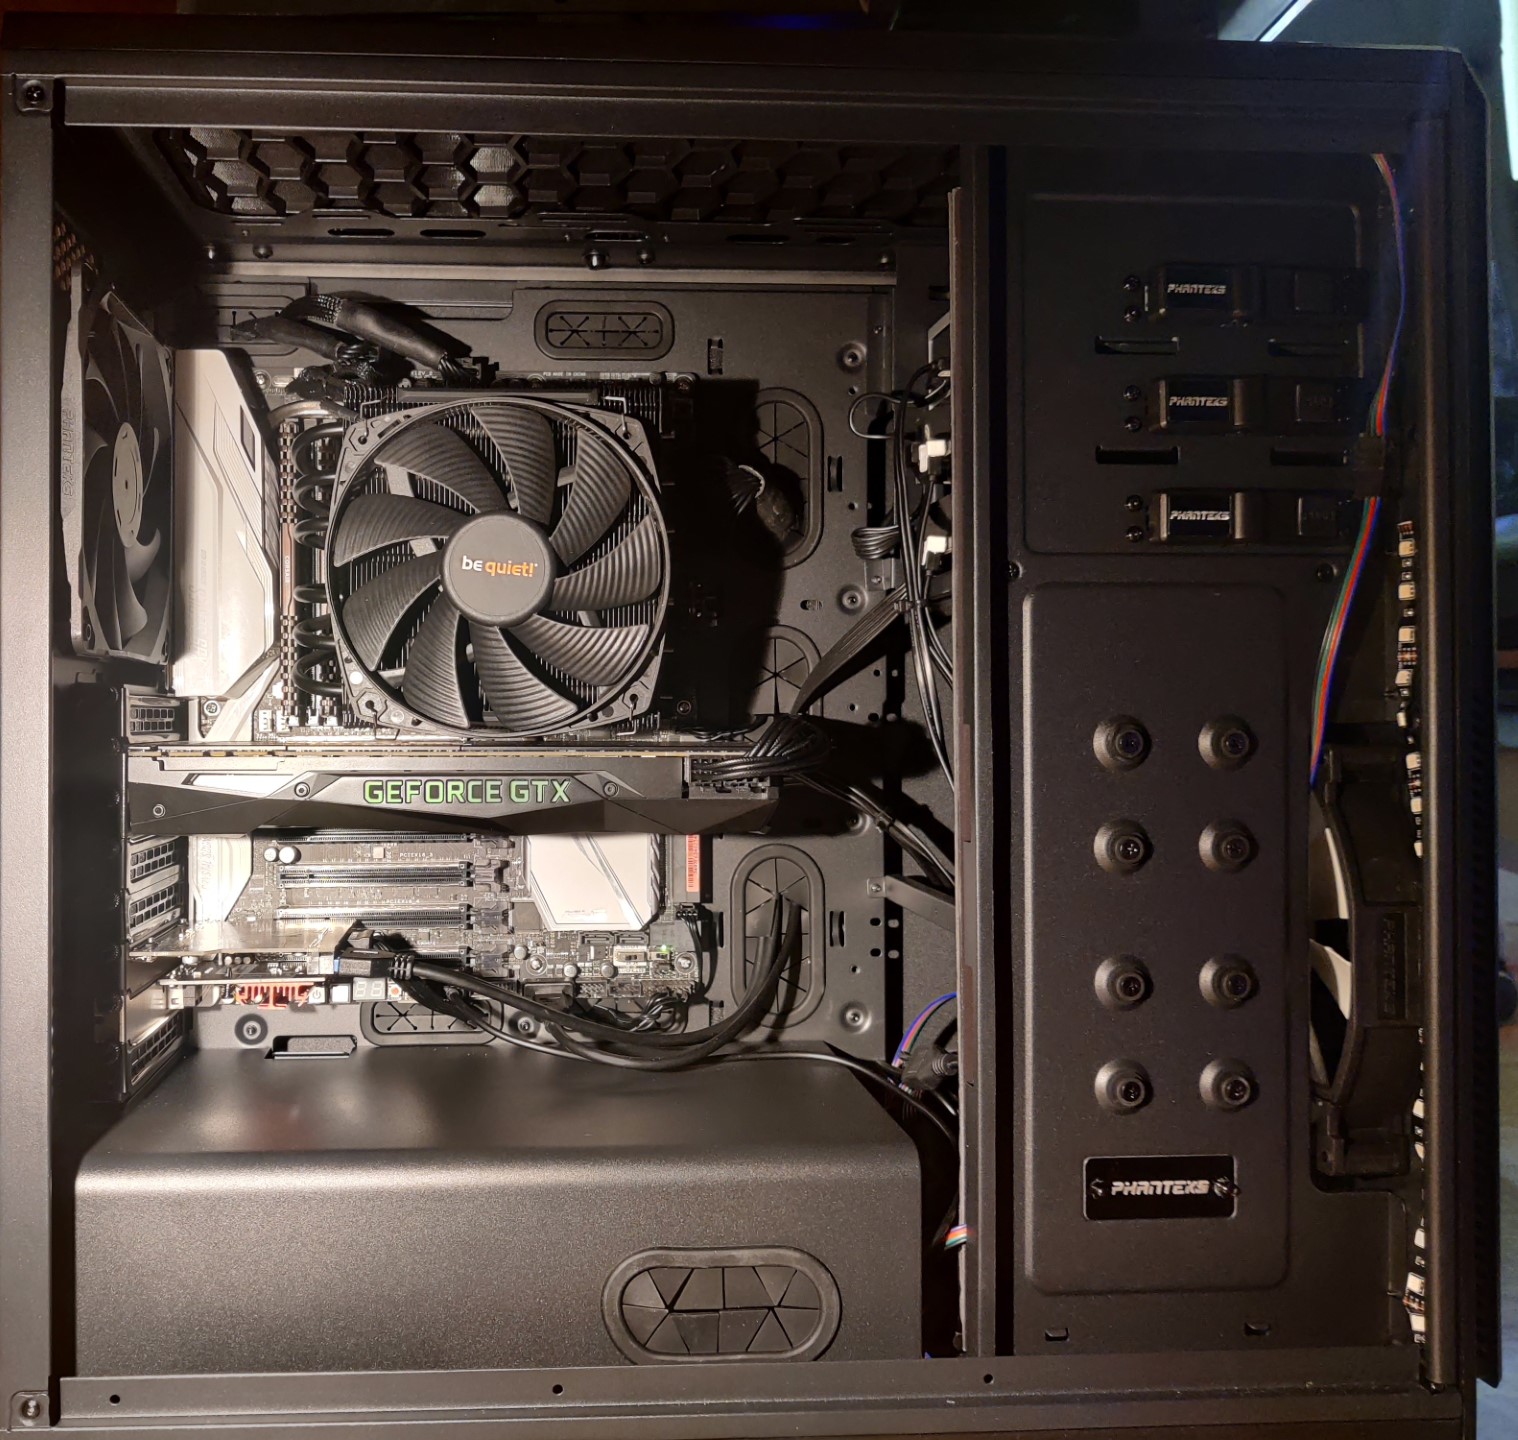
Be Quiet Dark Rock TF
For the cooler, I could have used one of the AIO water coolers I have in stock but I’m kind of bored with these now. Or I could have used one of the many Cooler Master 212 coolers that I own but, again, I am bored with these and I wanted something a bit different, and I found what I was looking for in the absolute monster that is the Be Quiet Dark Rock TF. This absolutely enormous air cooler uses two 135mm fans and sits parallel to the motherboard rather than perpendicular. I specifically went for the original TF rather than the updated TF2 as the TF was released in 2015 and the TF2 was released in late 2021. I managed to find a mint in box TF on eBay.
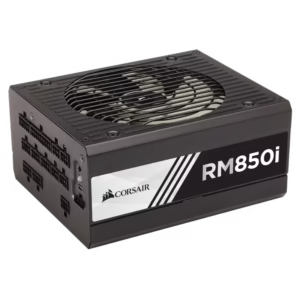
Corsair RM850i
For the PSU I used a Corsair RM850i that I had, which had actually been in the main PC before I had upgraded it to one with a PCIe v5 power connector as part of a GPU upgrade.
The RM850i is period-correct for this build, having been released in 2015.
The one thing that isn’t quite period correct is the Samsung 970 EVO Plus Gen 3 NVMe. But I had it, and it was spare because the new motherboard for the main PC is Gen 5 and so I had bought a new NVMe for the main PC. The 970 was released in January 2019 so it’s not a million miles away from the mid-2010’s vintage that I’m going for.
I created 3 partitions, and installed Win7, Win 10, and Win 11. Installing Win7 was an absolute arse as Win7 doesn’t support installing to NVMe out of the box. You need a boot driver (ie. one for use with “press F6 to load additional drivers” during install) which Samsung do not supply; they only supply a post-installation driver. In the end what I had to do was install Win7 to an SSD (with the NVMe not fitted), then power off and fit the NVMe, then boot up again from the SSD and install the post-installation Samsung drivers, and then finally use Clonezilla to clone the SSD to the NVMe. Win7 then booted happily from NVMe. What a palaver!
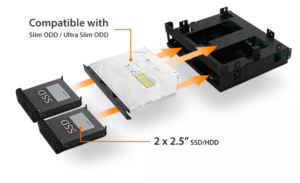
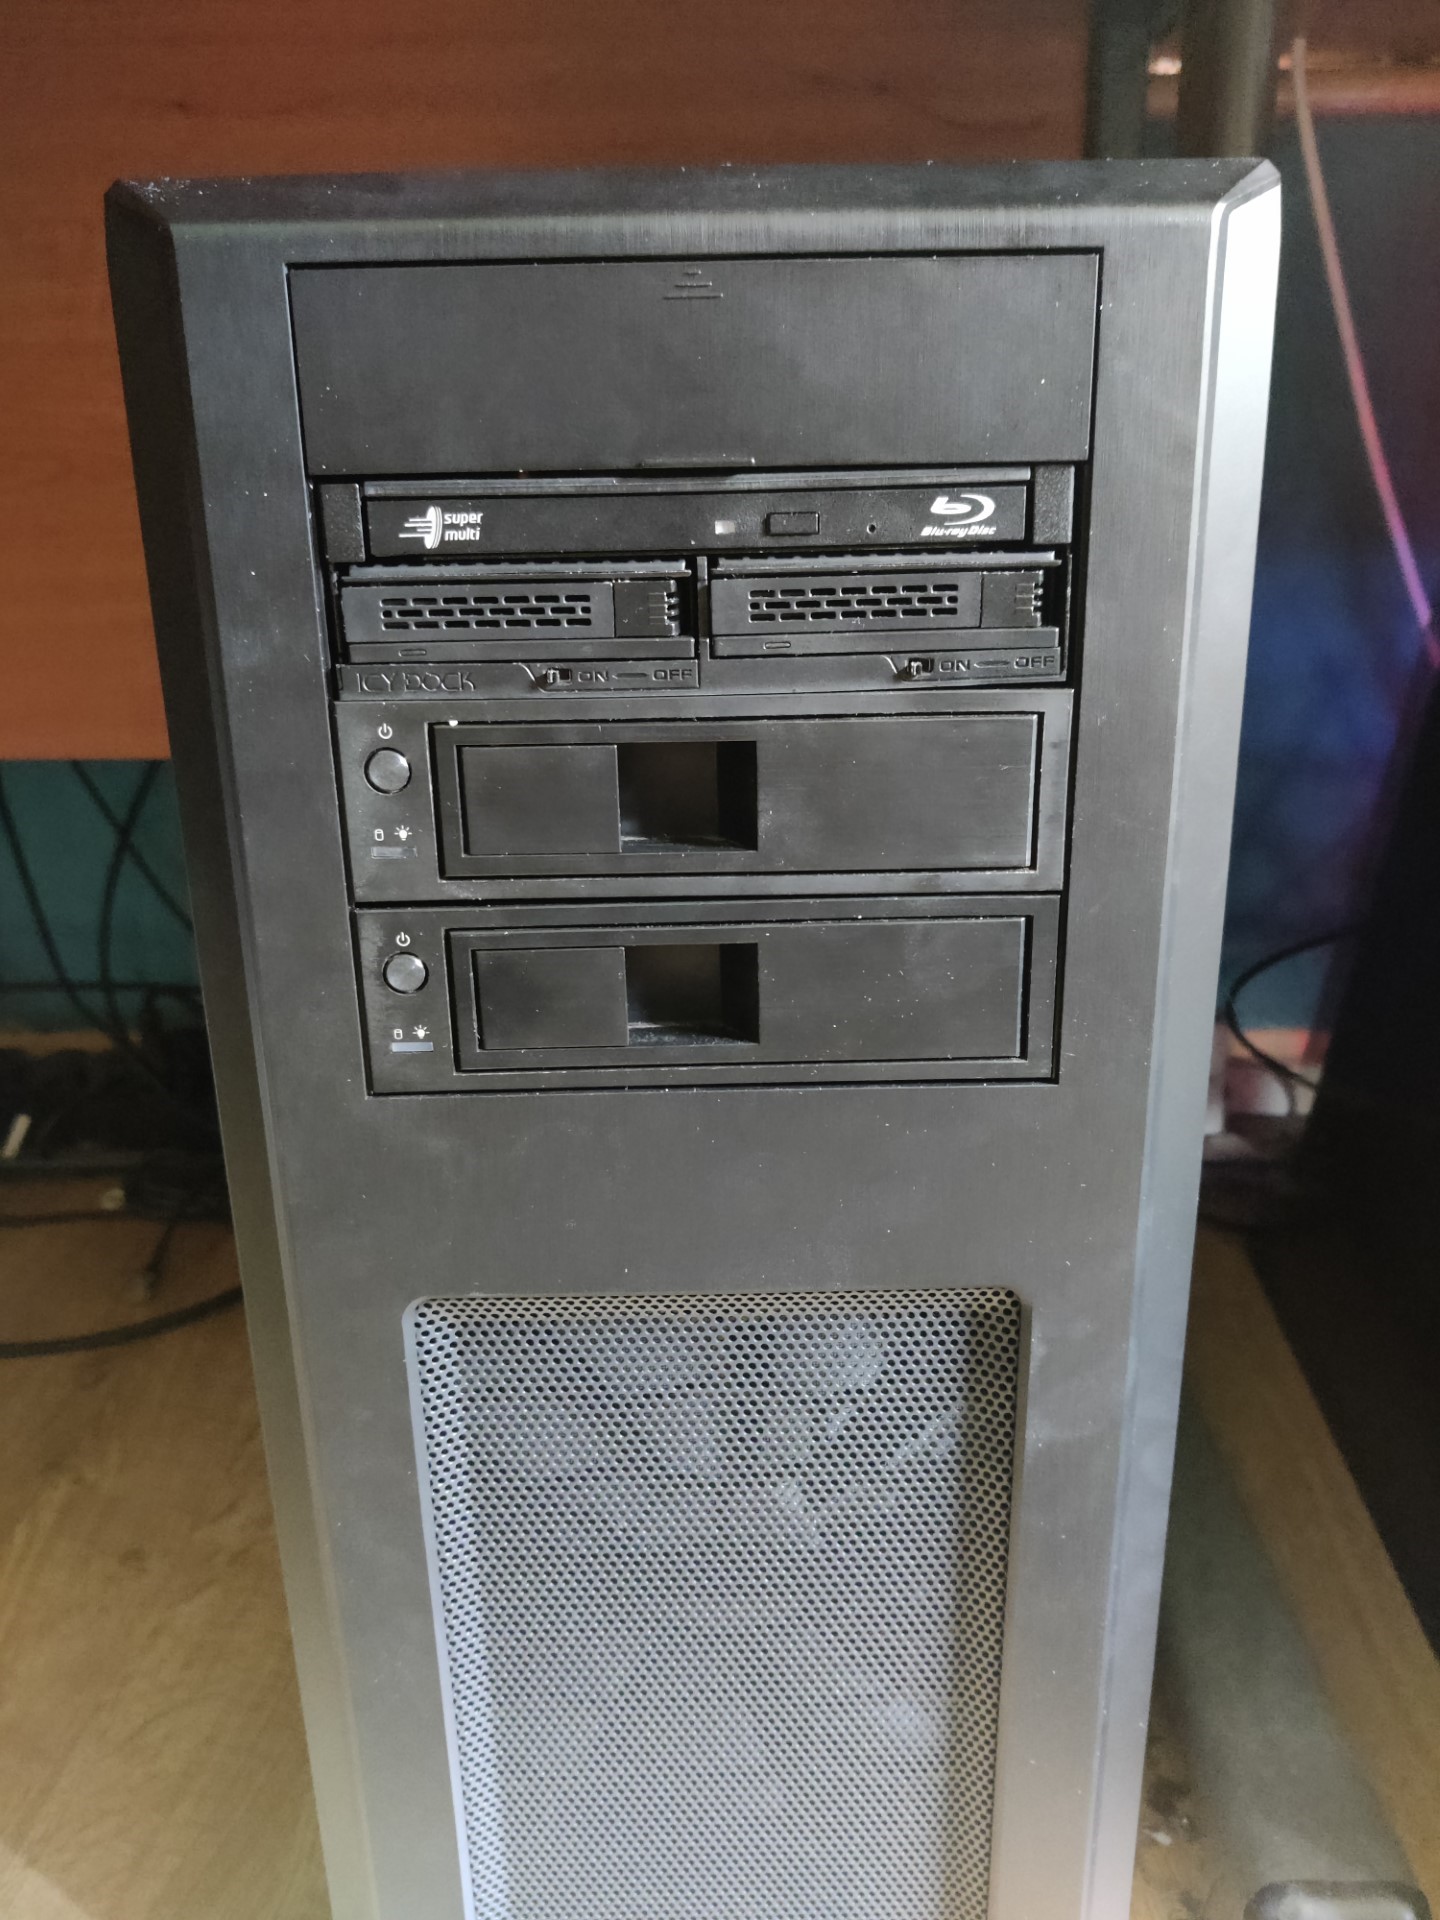
credit: Icy Dock
The Optical Disc Drive is a Hitachi-LG BU40N UHD Ultra-4K Blu-Ray drive, which I have owned from new and which was released in March 2016, and which is firmware modded to allow me to copy legally-owned UHD discs to a media server. It’s mounted into an Icy Dock ExpressCage MB732SPO-B, which allows a single 5¼” drive bay to host a slim ODD drive plus two 2½” hot swap drive bays with caddies. I’m unsure when this ExpressCage was actually released (it may have been as late as 2019) but I need it to be in this build as this is a PC that I will actually be using as my 2nd PC, so we can gloss over this.
For the GPU, I went for an nVidia TITAN Xp, because I previously ran an MSI GTX 1080 TI ARMOR 11GB OC on this system, and could never afford a TITAN Xp at the time. The TITAN Xp was released in 2017 so just about qualifies for period correctness. At £166.25 I probably paid too much for it, but it was in exceptionally good “as new” condition from a business seller with a guarantee and a good Returns Policy.
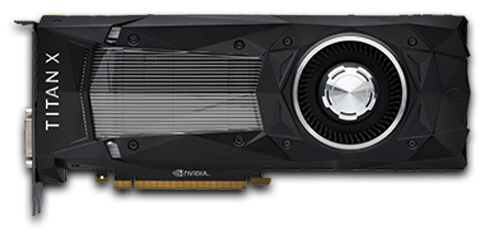
nVidia TITAN Xp
So, essentially, after all this swapping stuff around, this is basically my old PC in terms of motherboard, CPU, memory, PSU, and NVMe. It’s only the cooler, the GPU, and the case that are different.
Since this is a PC I actually intend to use, I fitted two hot swap caddyless 3½” drive bays that I already owned, plus the aforementioned slimline ODD + 2½” bays. This allows me to mess around with bare drives as and when I need to. Which I do.
Finally, the X99 board has a 12v 4-pin RGB header and I had a couple strips of suitable LEDs so I put them in the case, for a little bit of bling.
Everything went together very easily and very neatly.
And, finally, the costs. I have not costed things that I already owned as they are effectively amortised.

Update 1 (26-Apr-2026)
Having lived with this PC for a while, I think my biggest criticism of the Phanteks Enthoo Pro case is of that top flap that hides the USB ports, etc.
In real world use with the PC on the floor, it makes USB drives incredibly vulnerable to being caught with a knee and being snapped off, should you be in the habit of scooting between PCs on a swivel chair. Ask me how I know this.
I have taken to not using these ports and to using an external USB hub up on the desk instead.
Pingback: 2012 Z77 Retro Computing PC build - Data Hamster
Pingback: 2014 Z97 Retro Computing PC build "MissyMSI" - Data Hamster