Earlier in the year my main PC failed. The board was dead and it wasn’t the PSU as I have a PSU tester and it tested out fine. The PC was long overdue an upgrade, so I went ahead with that. More on that in another post.
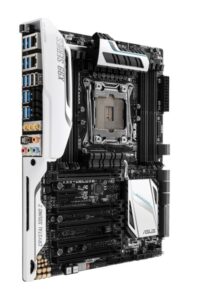
ASUS X99 Deluxe-II
The system was an ASUS X99 Deluxe-II motherboard, an Intel Core i7-6900K CPU, and Corsair Vengeance LPX DDR4 RAM. Quite old by today’s standards but by no means junk.
The motherboard is LGA 2011-3 just like my current dual Xeon Workstation, and is capable of using Xeon CPUs, so in order to test whether the failure was the CPU or the motherboard, and at a risk of attracting sharks, I borrowed a Xeon from the workstation and put it in the X99. It booted up fine, indicating that the motherboard was ok but the i7-6900K was fried. I put the Xeon back in the workstation and that was that. No sharks involved this time.
As a stopgap, I bought a Xeon E5-2630 v4 (10 cores / 20 threads) for £5.50 on eBay to get it going again, used a spare Cooler Master 212 cooler as I have several of them now, and threw it in an old case. Didn’t get a lot of use after that.
But now I have decided to turn it into a period-correct mid 2010’s PC for a bit of fun.
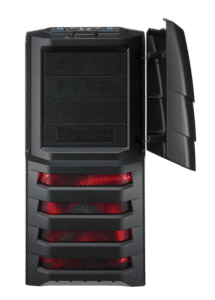
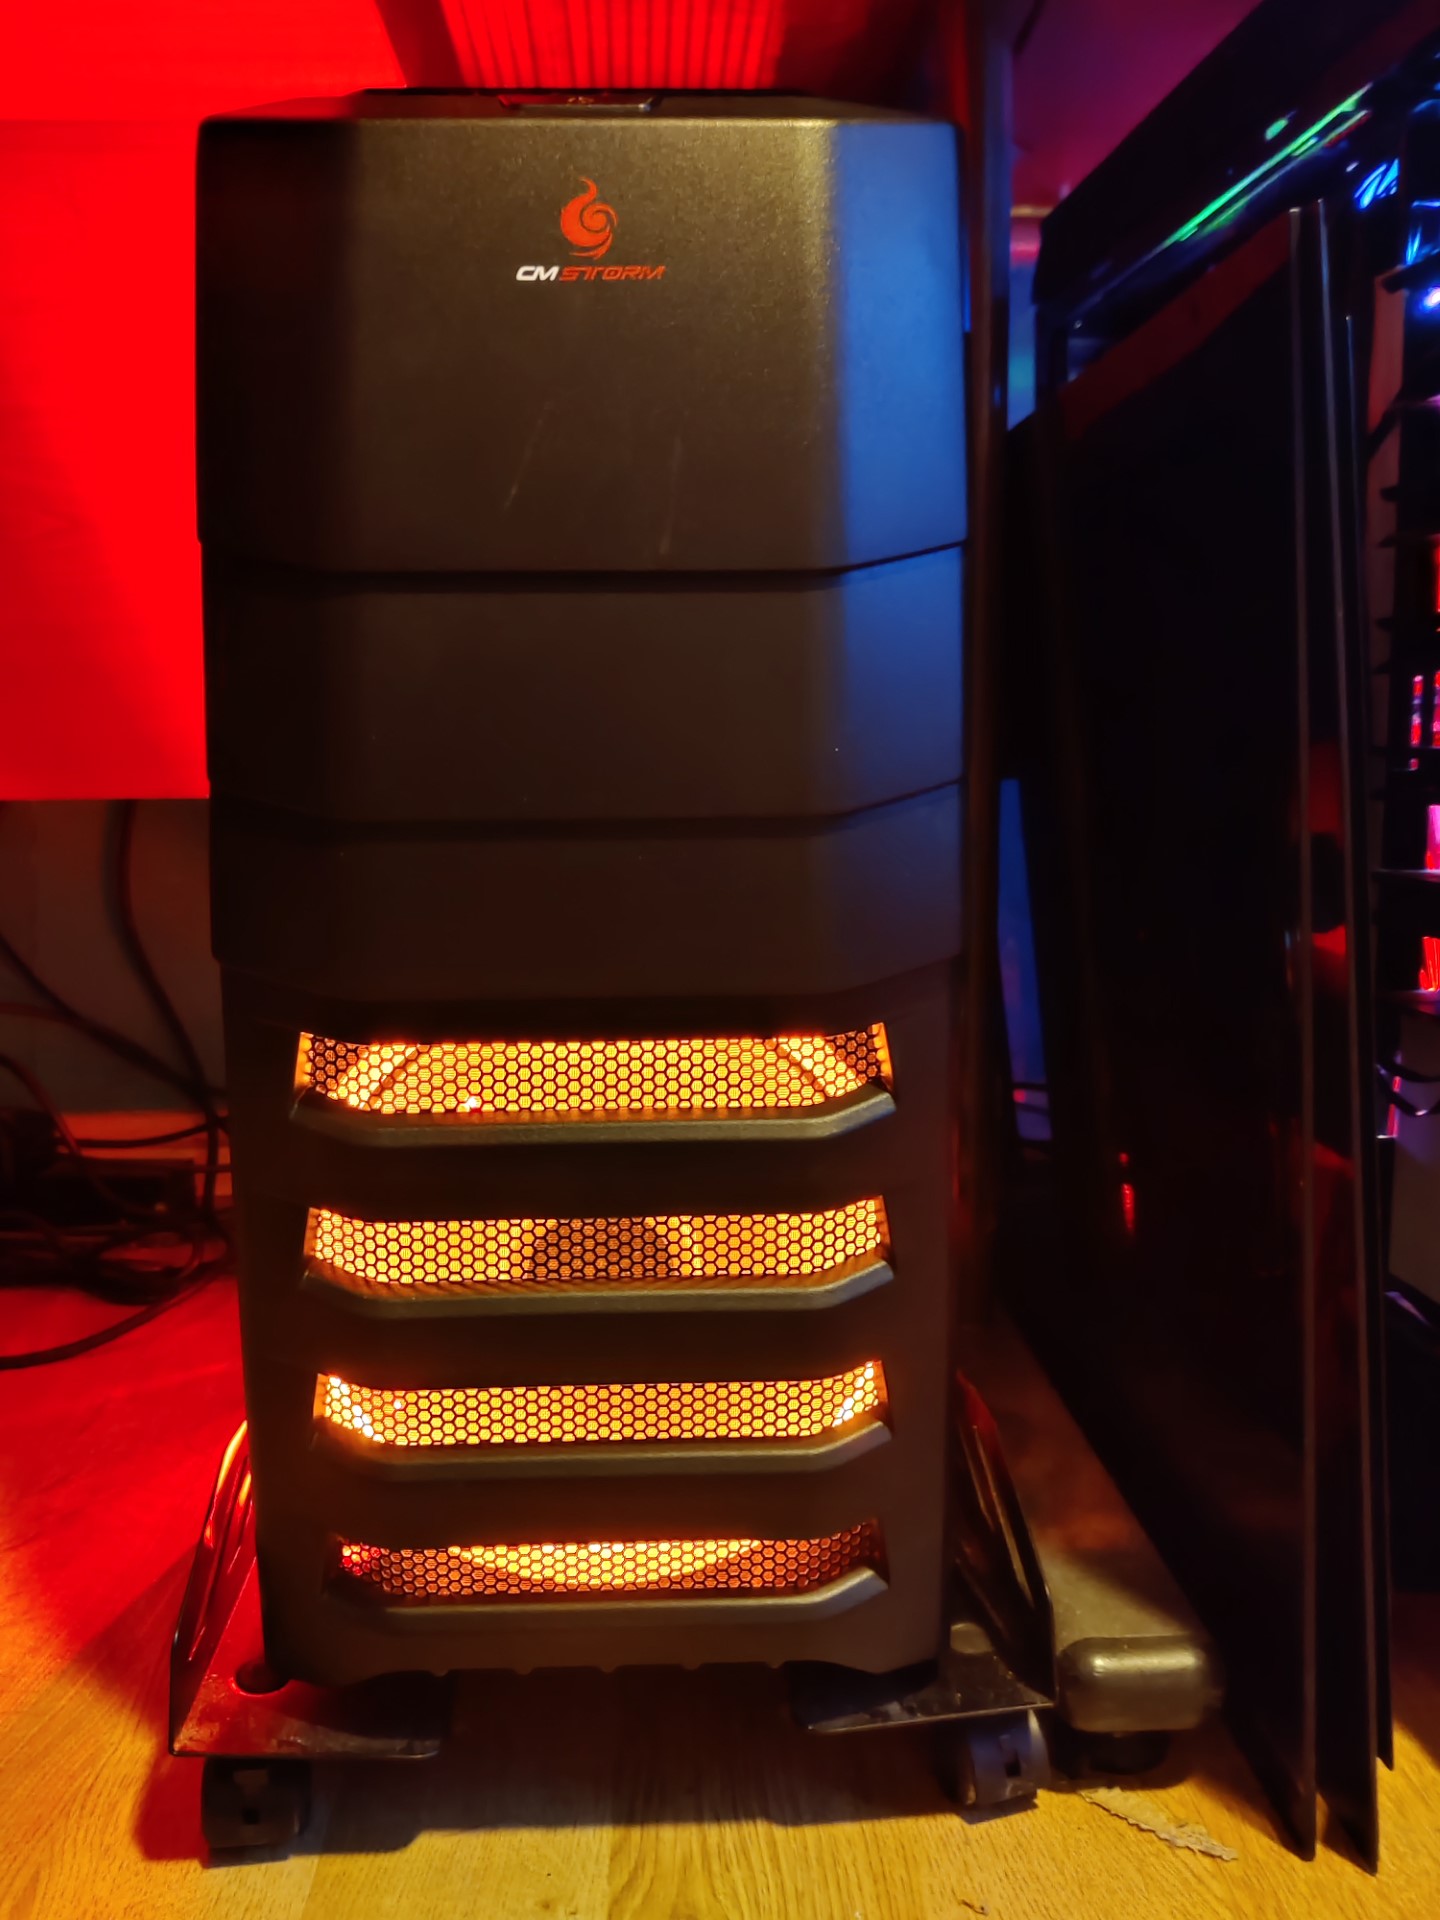
Cooler Master CM Storm Enforcer
Back when I built my original LGA1366 dual Xeon workstation I built it into a Cooler Master CM Storm Enforcer case. I sold that case several years ago now, but a mint one came up for sale on eBay for a roughly what I sold mine for, and I bought it. It was in its original box, still had its original 200mm fan, and original PSU. It was a little dusty but cleaned up well. The only thing missing were the rails for the internal HDD cages and, whilst I don’t actually need them, I ordered a set from AliExpress for £9.10 all-inclusive just for completeness, should I ever decide to sell the case again.
The Xeon CPU was always a stop gap, so I looked into what would be an ultimate CPU for the build. I did consider the Core i7-6950X 10-core 3.0GHz CPU but in the end I decided to simply get another Core i7-6900K 8-core 3.2GHz CPU to replace the one that failed. I sourced one for £50 which is actually a below-average price.

Be Quiet Dark Rock TF
For the cooler, I could have used one of the AIO water coolers I have in stock but I’m kind of bored with these now. Or I could have used one of the many Cooler Master 212 coolers that I own but, again, I am bored with these and I wanted something a bit different, and I found what I was looking for in the absolute monster that is the Be Quiet Dark Rock TF. This absolutely enormous air cooler uses two 135mm fans and sits parallel to the motherboard rather than perpendicular. I specifically went for the original TF rather than the updated TF2 as the TF was released in 2015 and the TF2 was released in late 2021. I managed to find a mint in box TF on eBay.
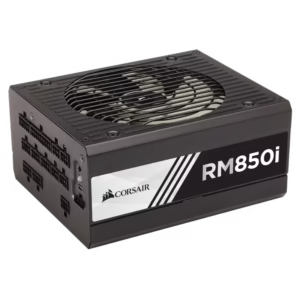
Corsair RM850i
For the PSU, rather than use the 650W PSU that came with the case, I used a Corsair RM850i that I had, which had actually been in the main PC before I had upgraded it to one with a PCIe v5 power connector as part of a GPU upgrade.
The RM850i is period-correct for this build, having been released in 2015
The one thing that isn’t quite period correct is the Samsung 970 EVO Plus Gen 3 NVMe. But it was available (because the new motherboard for the main PC is Gen 5 and so I bought a new NVMe) and the 970 was released in January 2019 so it’s not a million miles away from the mid-2010’s vintage that I’m going for.
I created 3 partitions, and installed Win7, Win 10, and Win 11. Installing Win7 was an absolute arse as Win7 doesn’t support installing to NVMe out of the box. You need a boot driver (ie. one for use with “press F6 to load additional drivers” during install) which Samsung do not supply. In the end what I had to do was install Win7 to an SSD (with the NVMe not fitted), then power off and fit the NVMe, then boot up again from the SSD and install the Samsung drivers, and then finally use Clonezilla to clone the SSD to the NVMe. Win7 then booted happily from NVMe. What a palaver!
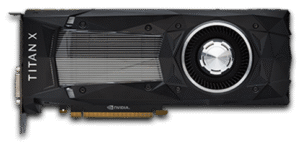
nVidia TITAN Xp
For the GPU, I went for an nVidia TITAN XP, because I previously ran an MSI GTX 1080 TI ARMOR 11GB OC on this system, and could never afford a TITAN Xp at the time. The TITAN Xp was released in 2017 so just about qualifies for period correctness.
So, essentially, after all this swapping stuff around, this is basically my old PC in terms of motherboard, CPU, memory, PSU, and NVMe. It’s only the cooler, the GPU, and the case that are different. And the case has featured in earlier incarnations of my main PC. So it’s only really the cooler and GPU that are new.
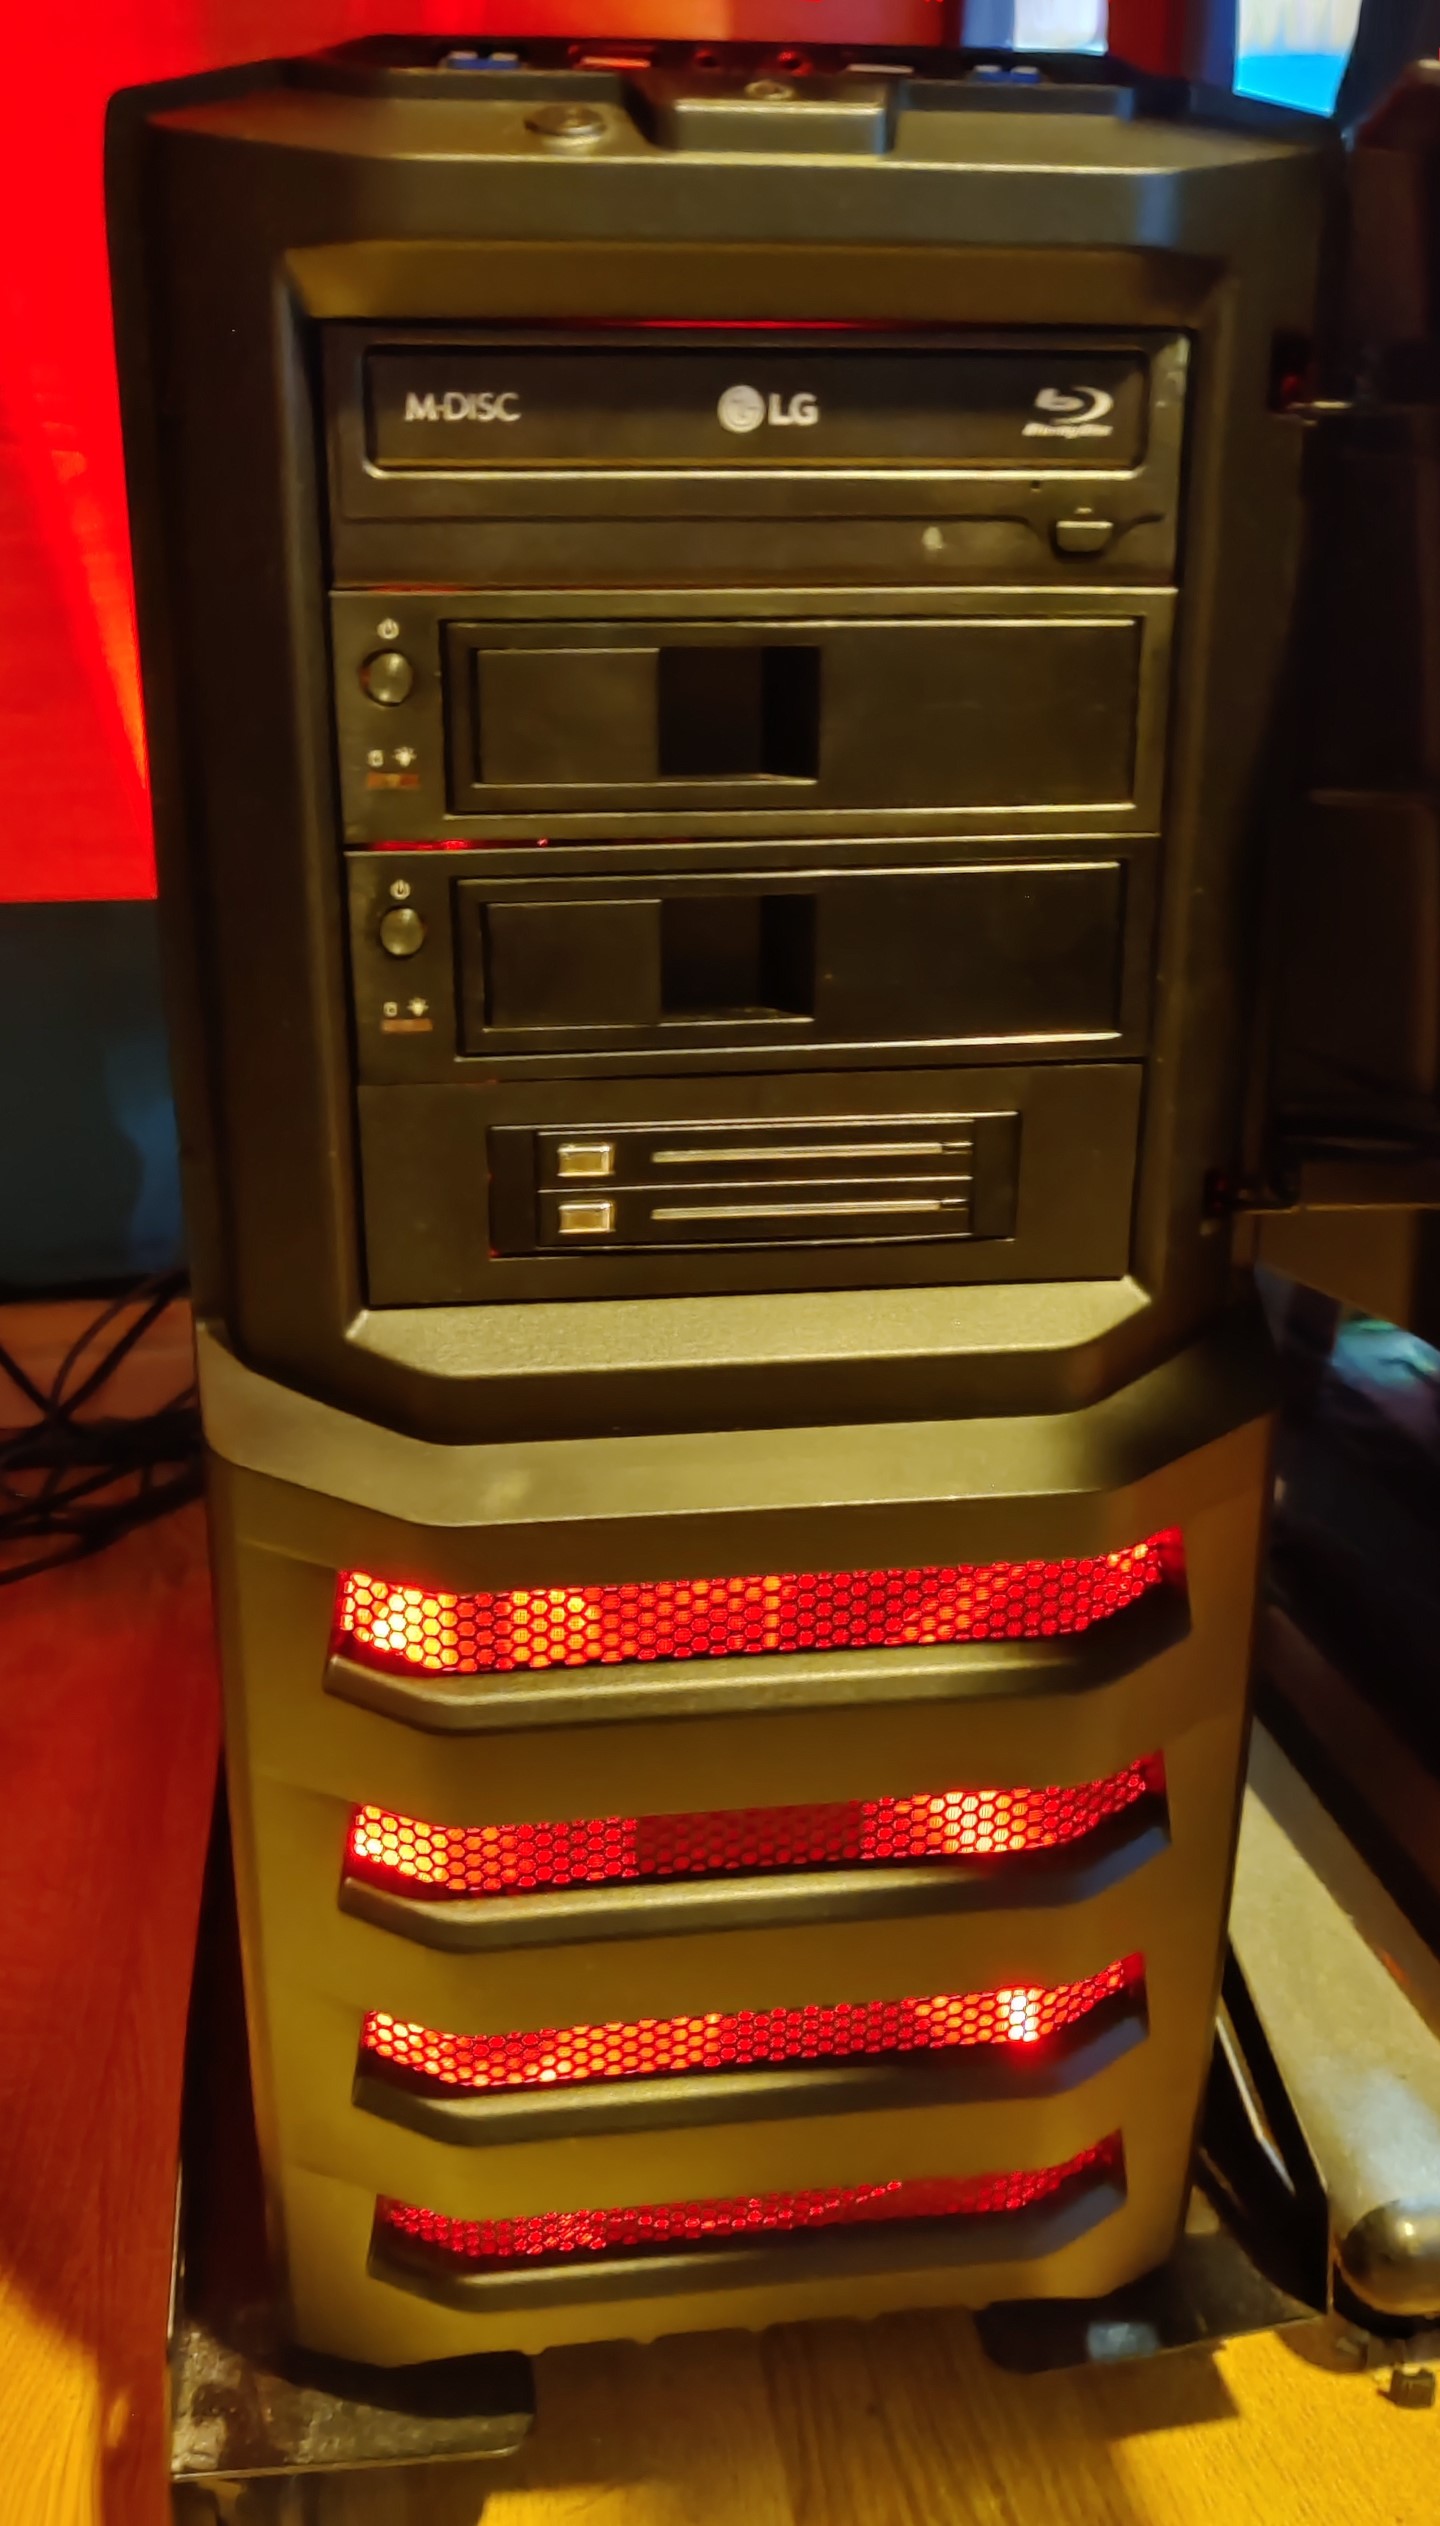
Since this is a PC I actually intend to use, I maxed out the external drive bays with a load of hot swap drive bays that I already owned, plus a BD recorder I already owned. The hot swap bays allow me to mess around with bare drives as and when I need to. Yes, I could have put all these in my dual Xeon workstation but I am utterly sick of that build now as the serverboard really doesn’t lend itself to desktop use and takes forever to boot up and has all sorts of weird slowdown issues during normal usage (like context menus taking 10 seconds to pop up sometimes) so that is being relegated to 3rd PC status. Sure, I’ll miss having 36 cores / 72 threads but honestly this X99 build will be more usable.
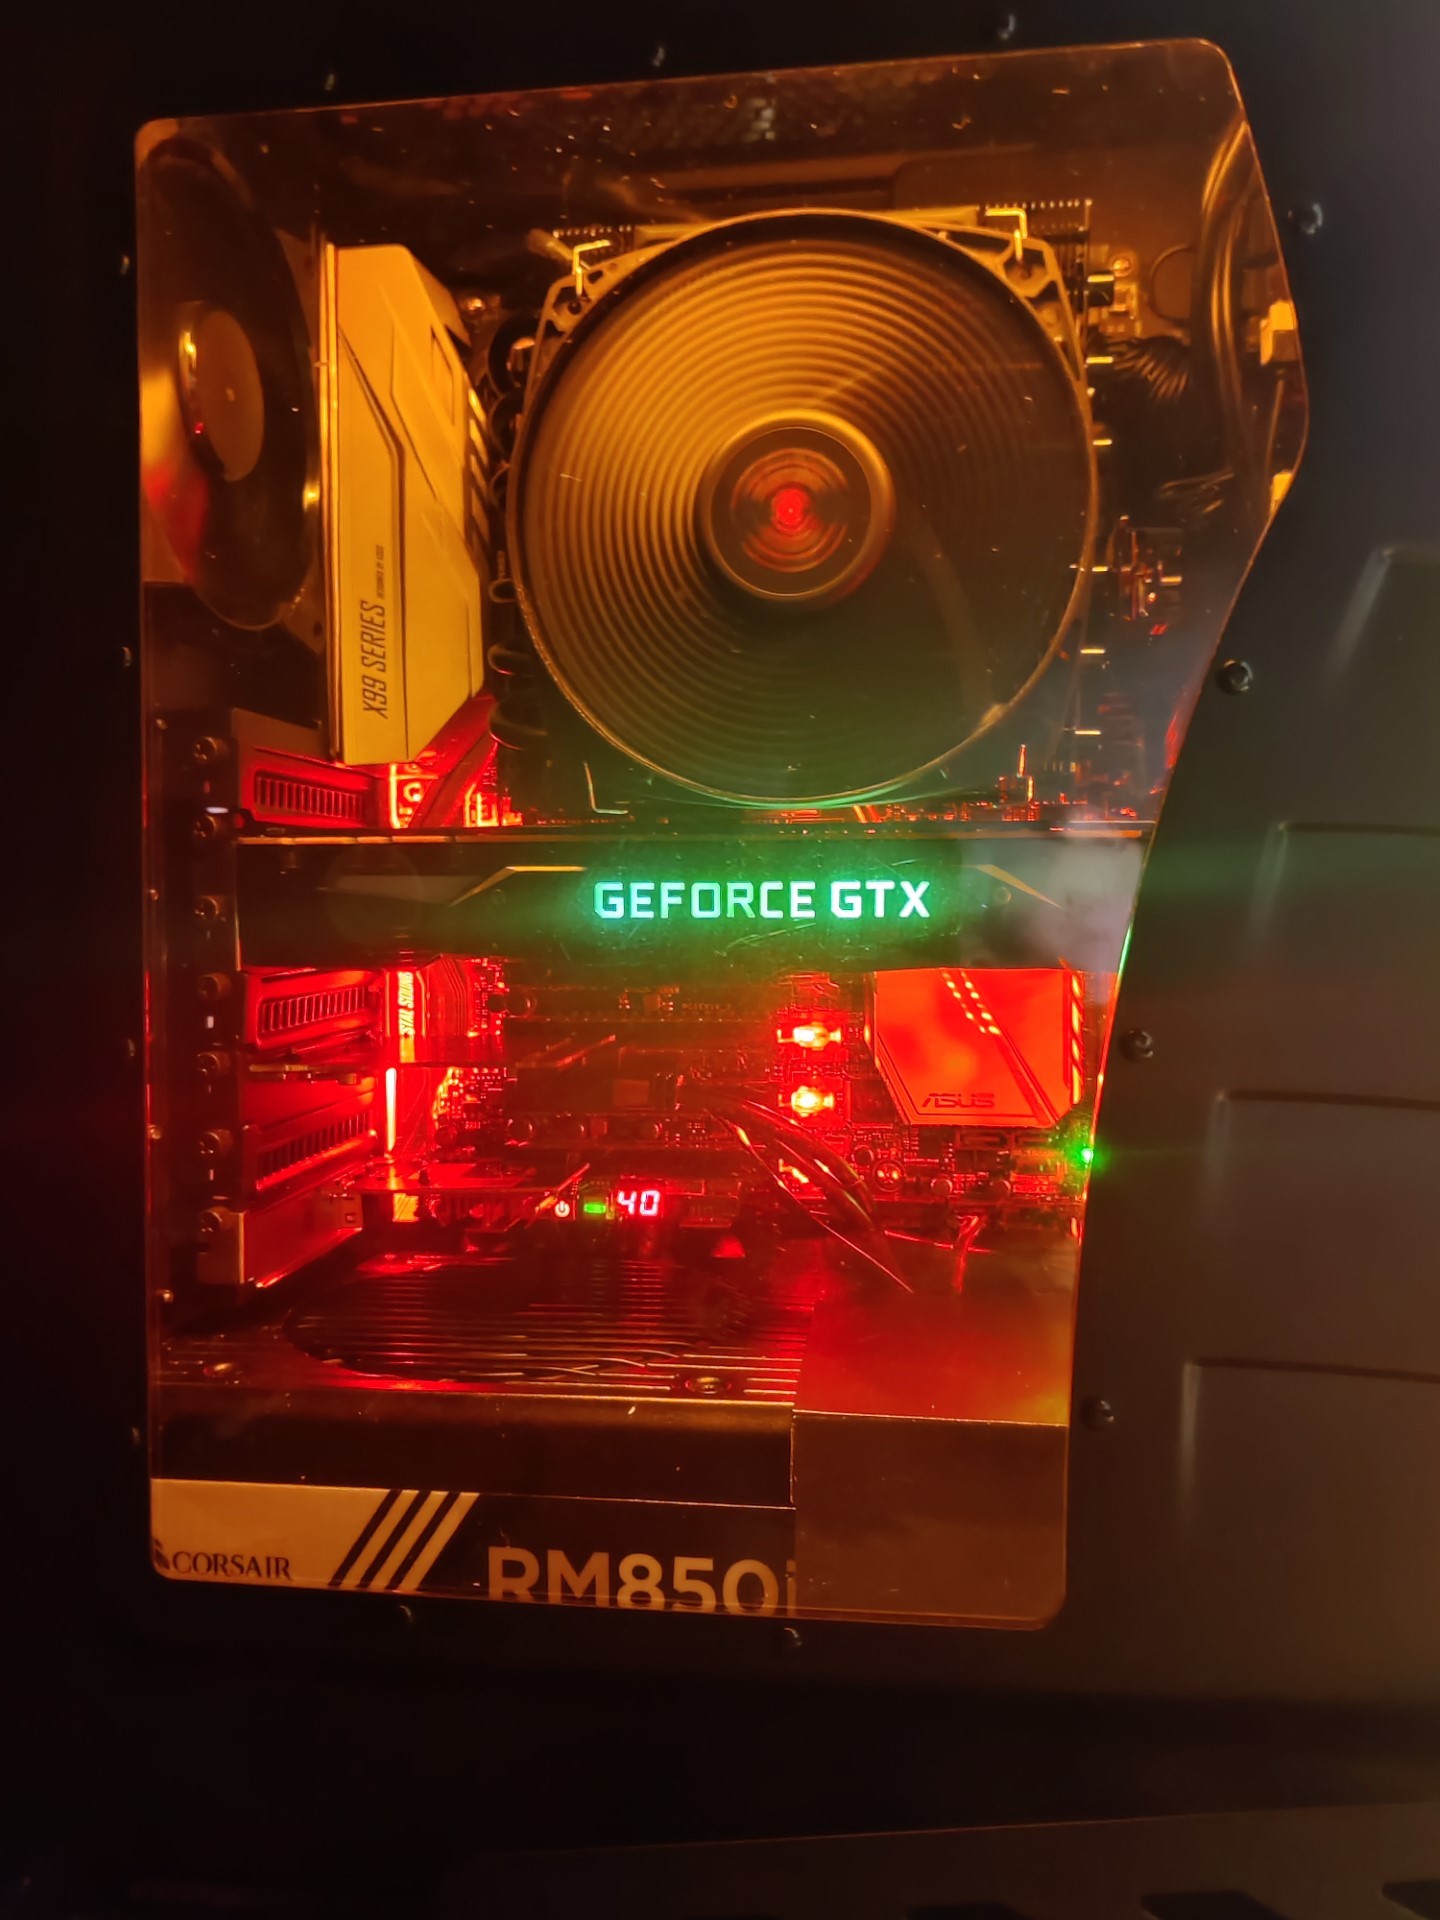
Finally, the X99 board has a 12v 4-pin RGB header and I had a suitable strip of LEDs so I put them in the case, set to static red to complement the red LEDs of the front fan, power button LED, and red logo. Black and red is very much the theme of this case.
So, here are the final costs, not including things I already owned.
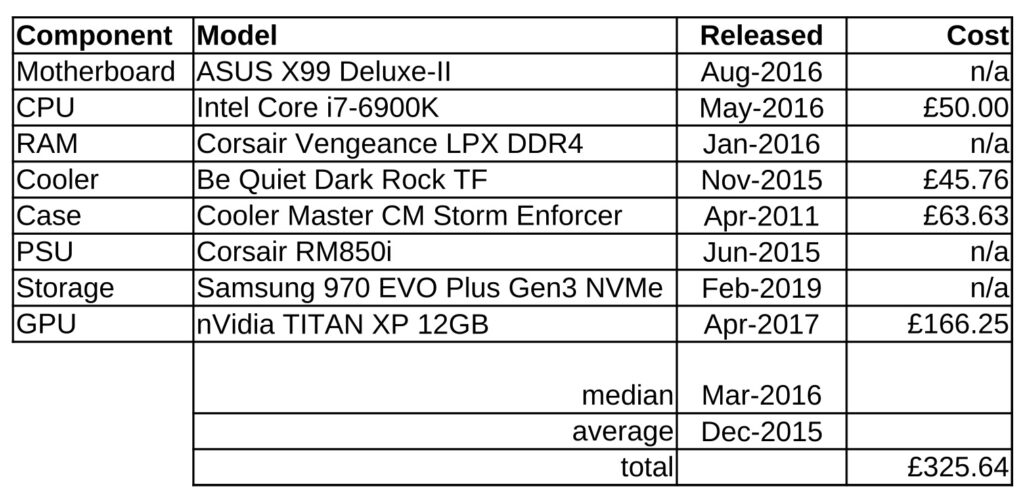
And, finally, some build pics:

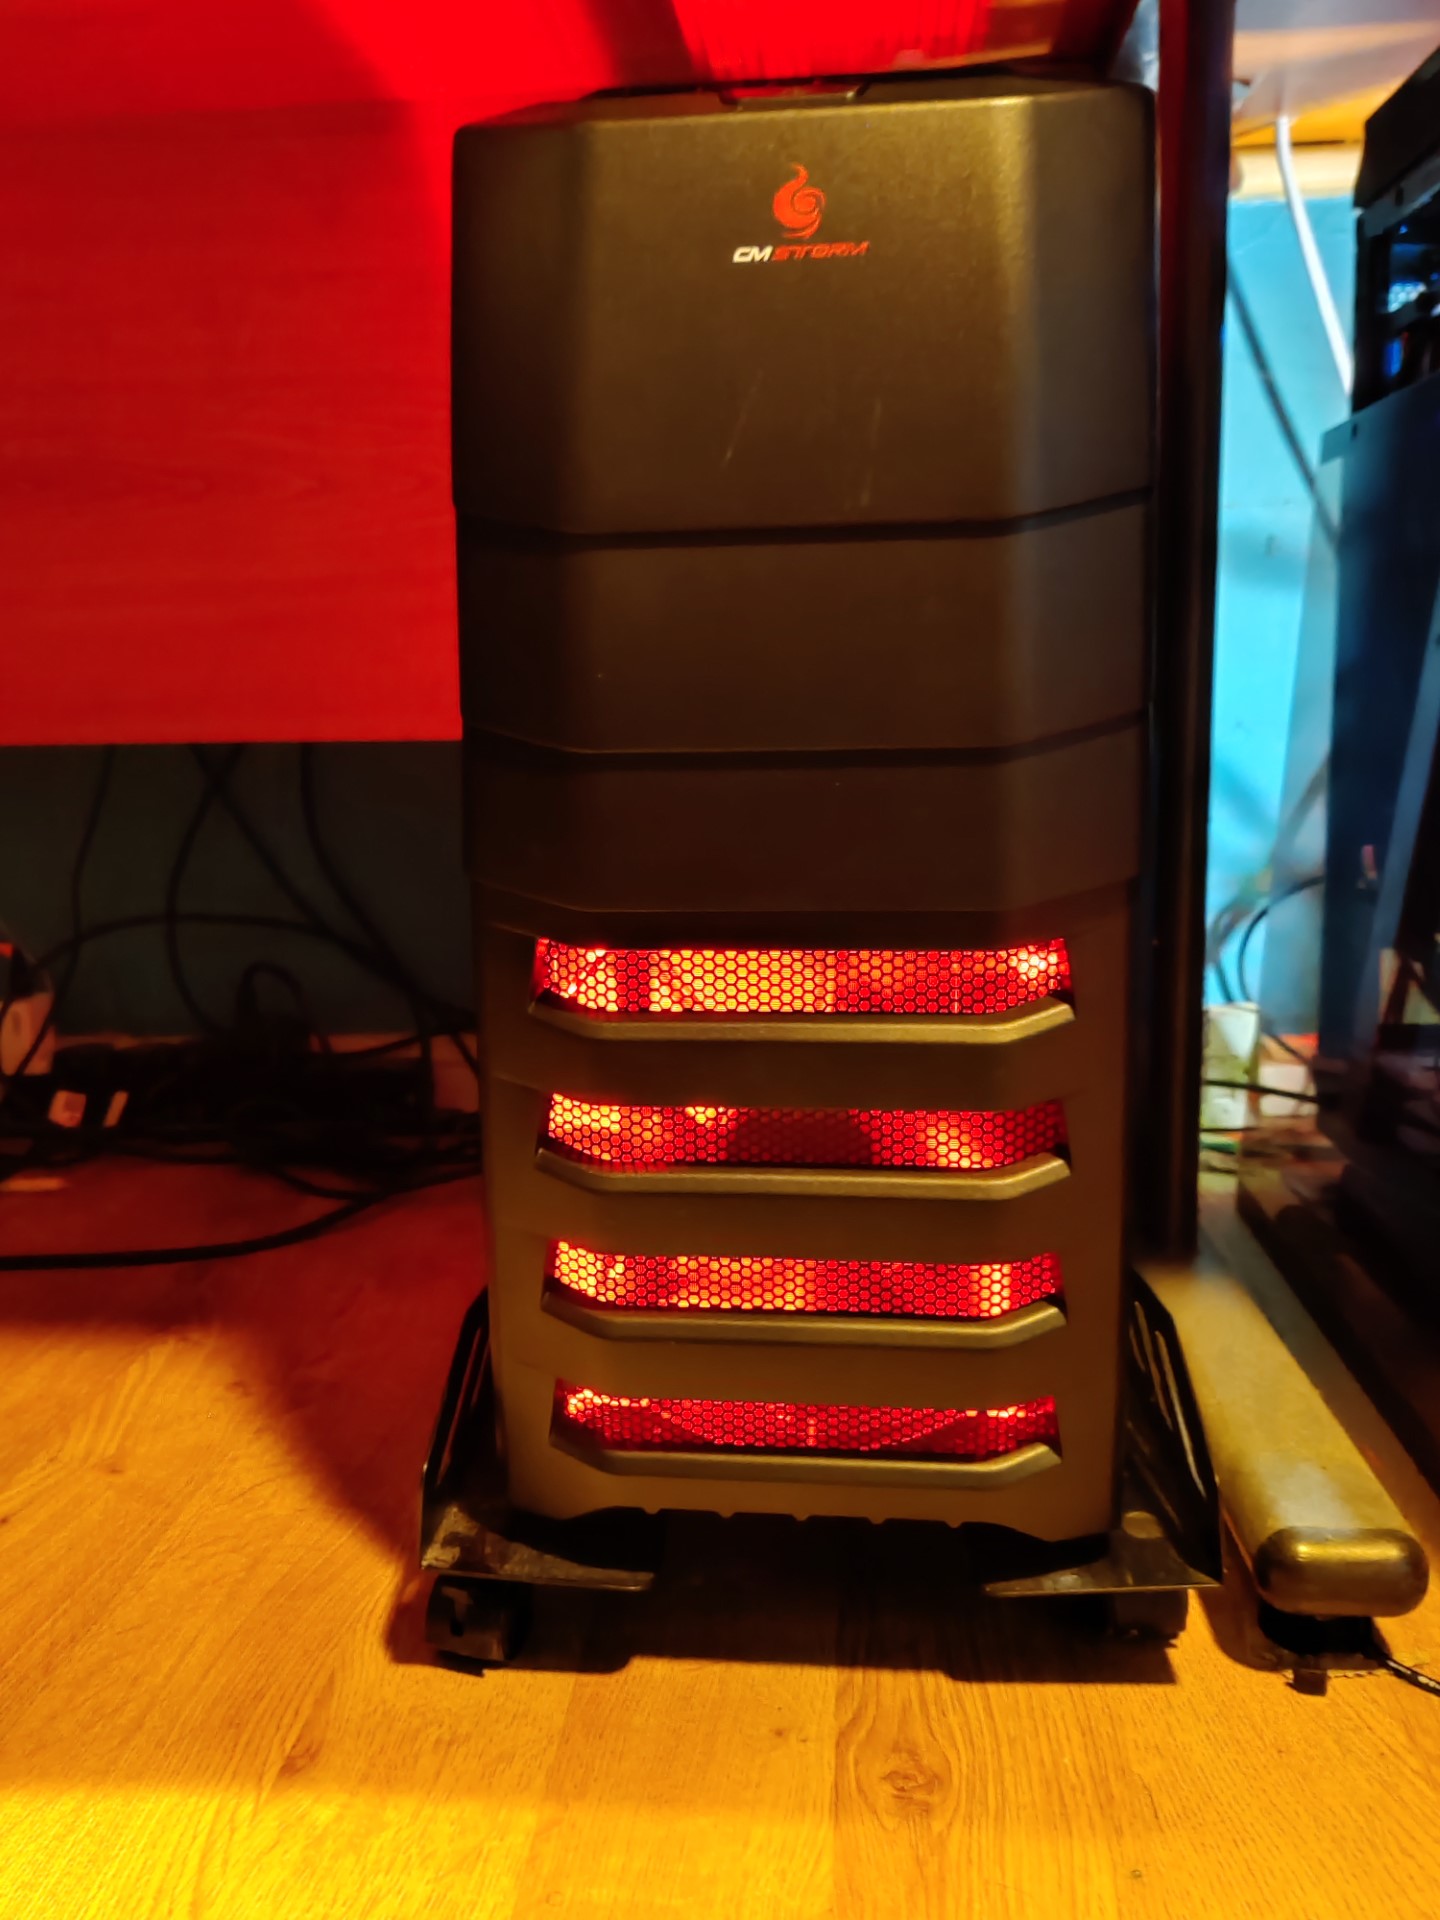
Whilst testing, the stock fan developed a death grumble so I replaced it with a modern 200mm ARGB fan with an inline ARGB controller and the colour set to static red to mimic the original fan.
Case with new fan
Update 1:
March-2026
I’m working on a period-correct 2012 build, and the Storm Enforcer case was released in 2011, so I rebuilt this PC into a new case, which is a 2014 Phanteks Ethoo Pro with I bought brand new as new-old stock from Overclockers UK. I will update this page when it is done.
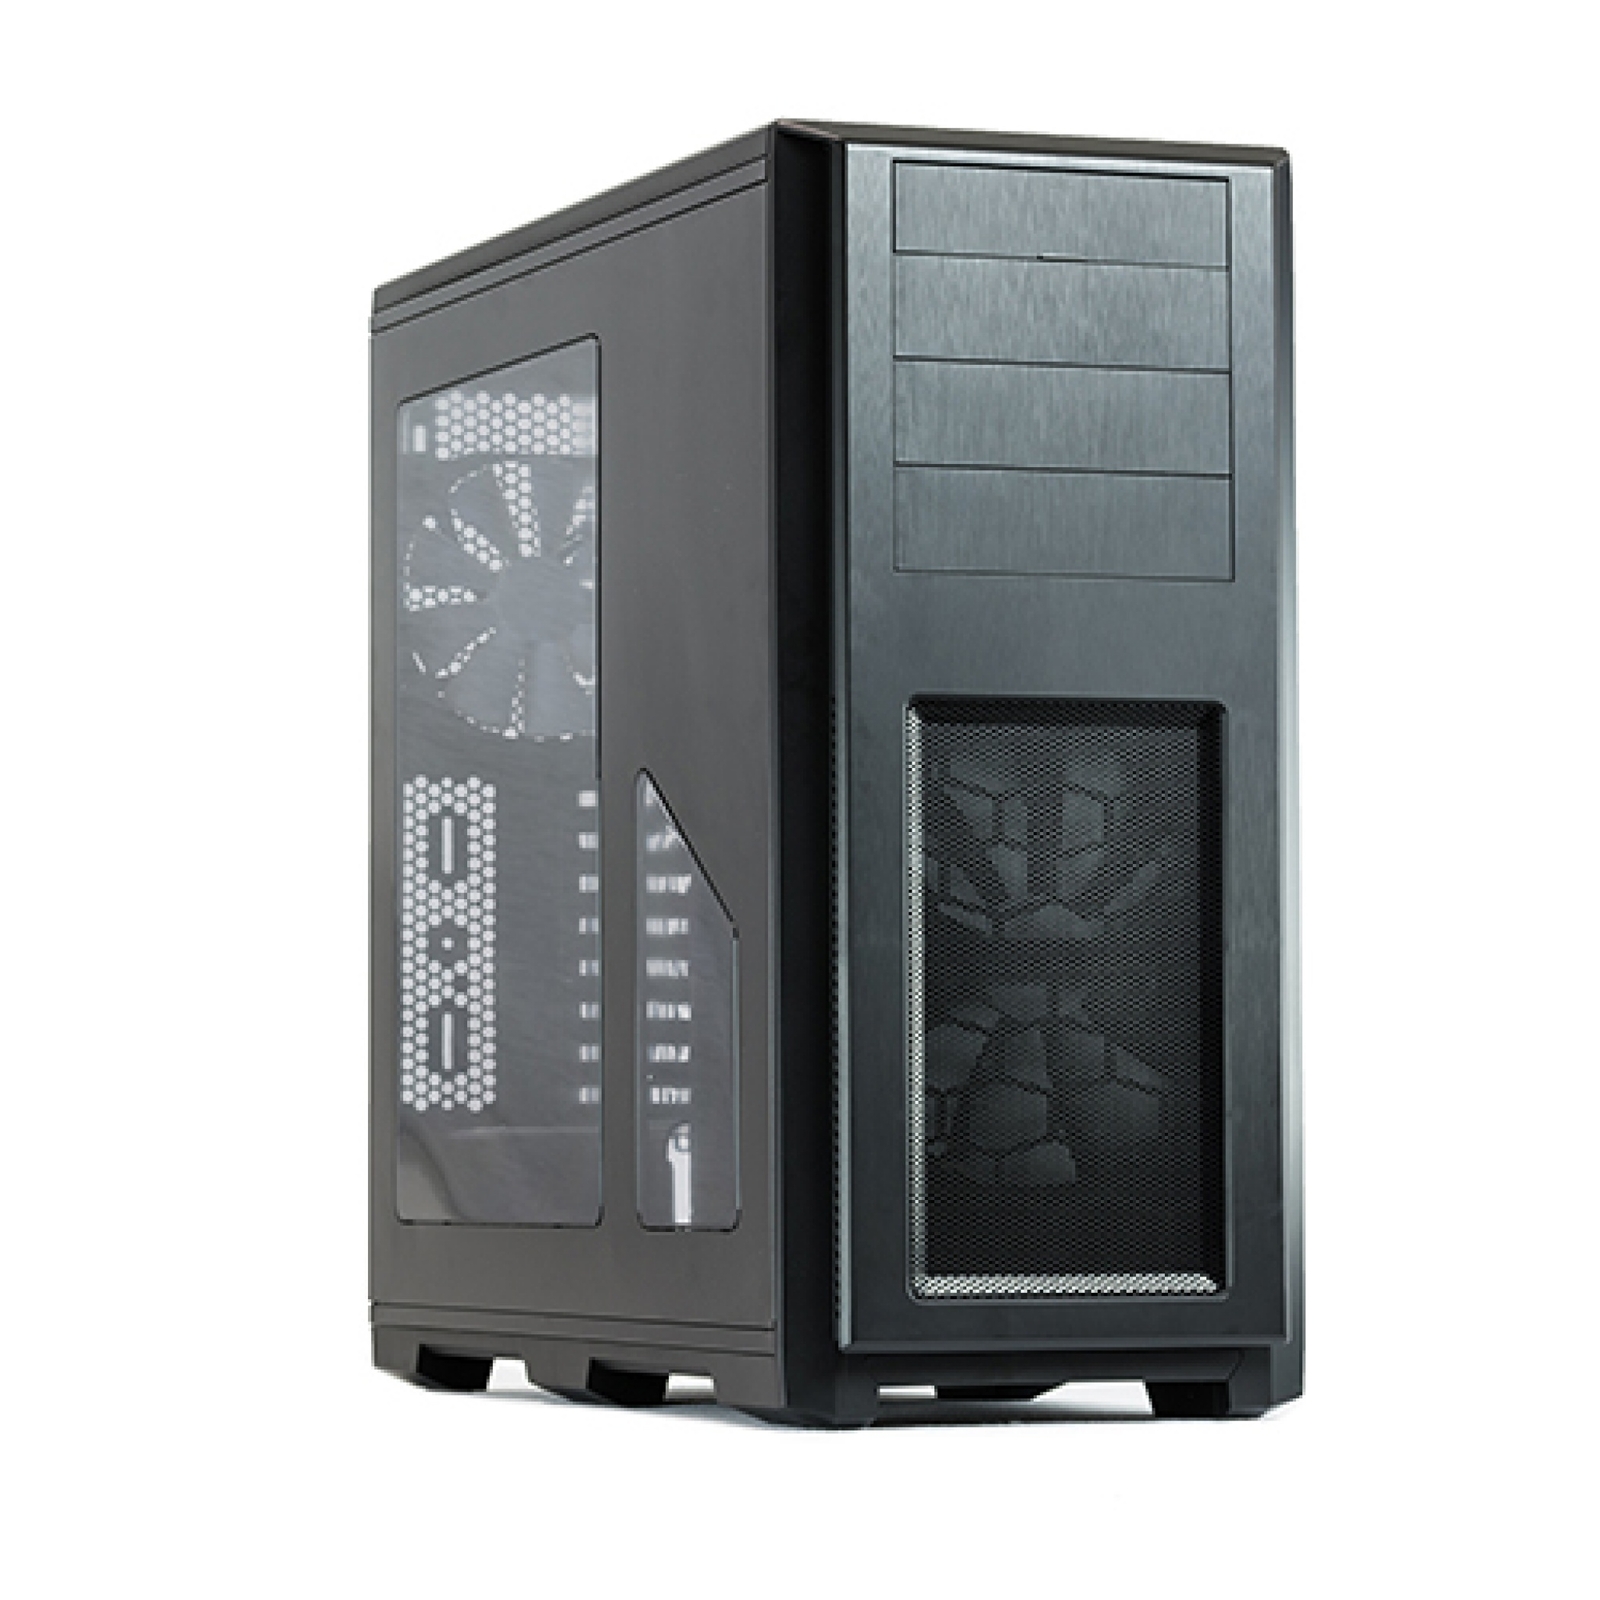
Phanteks Enthoo Pro