I’ve been meaning to post this for a while, so the info here is a little out of date I suppose since the RTX 3080 Ti is quite an old card now.
Back in November 2022 (blimey, was it really so long ago?) I bought a Zotac RTX 3080 Ti Trinity. It was the cheapest RTX 3080 Ti you could buy and was also on special offer, so I got a pretty good price (in comparative terms).
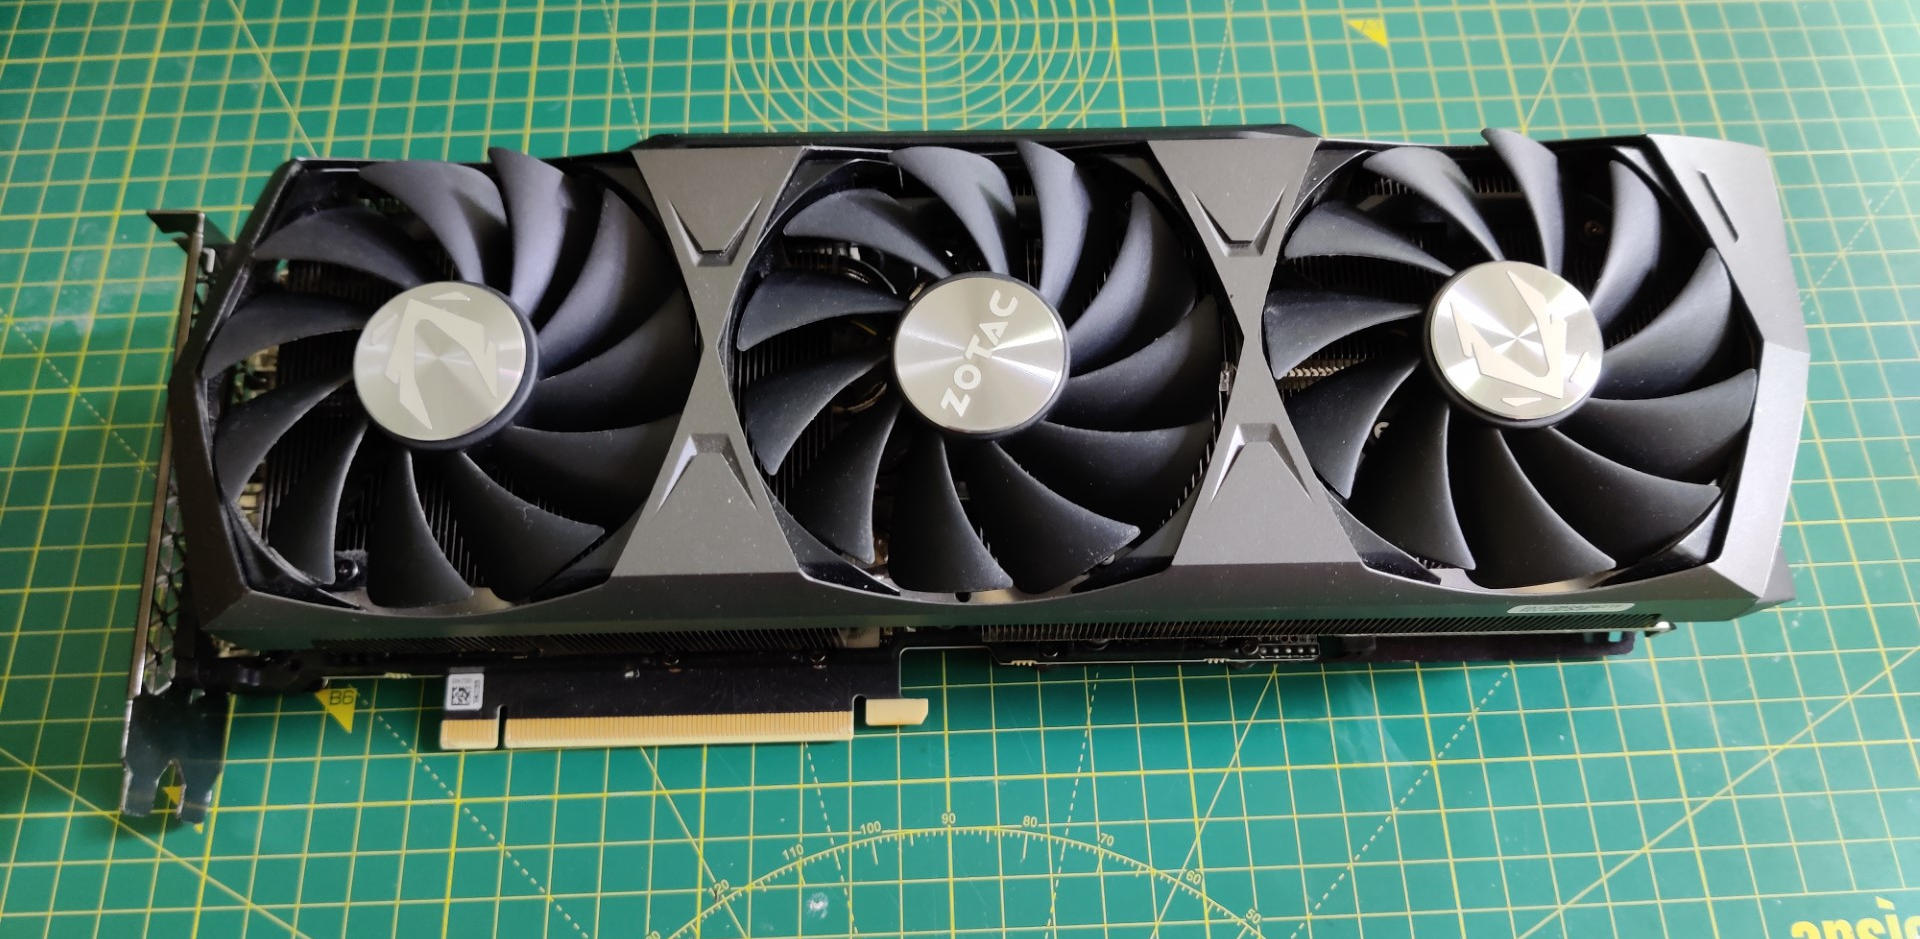
Zotac RTX 3080 Ti Trinity
It’s a good enough card but the stock fans are so noisy! By May 2024 I had had enough of the noise, but I couldn’t afford to replace the card so I looked into whether the fans could be upgraded.
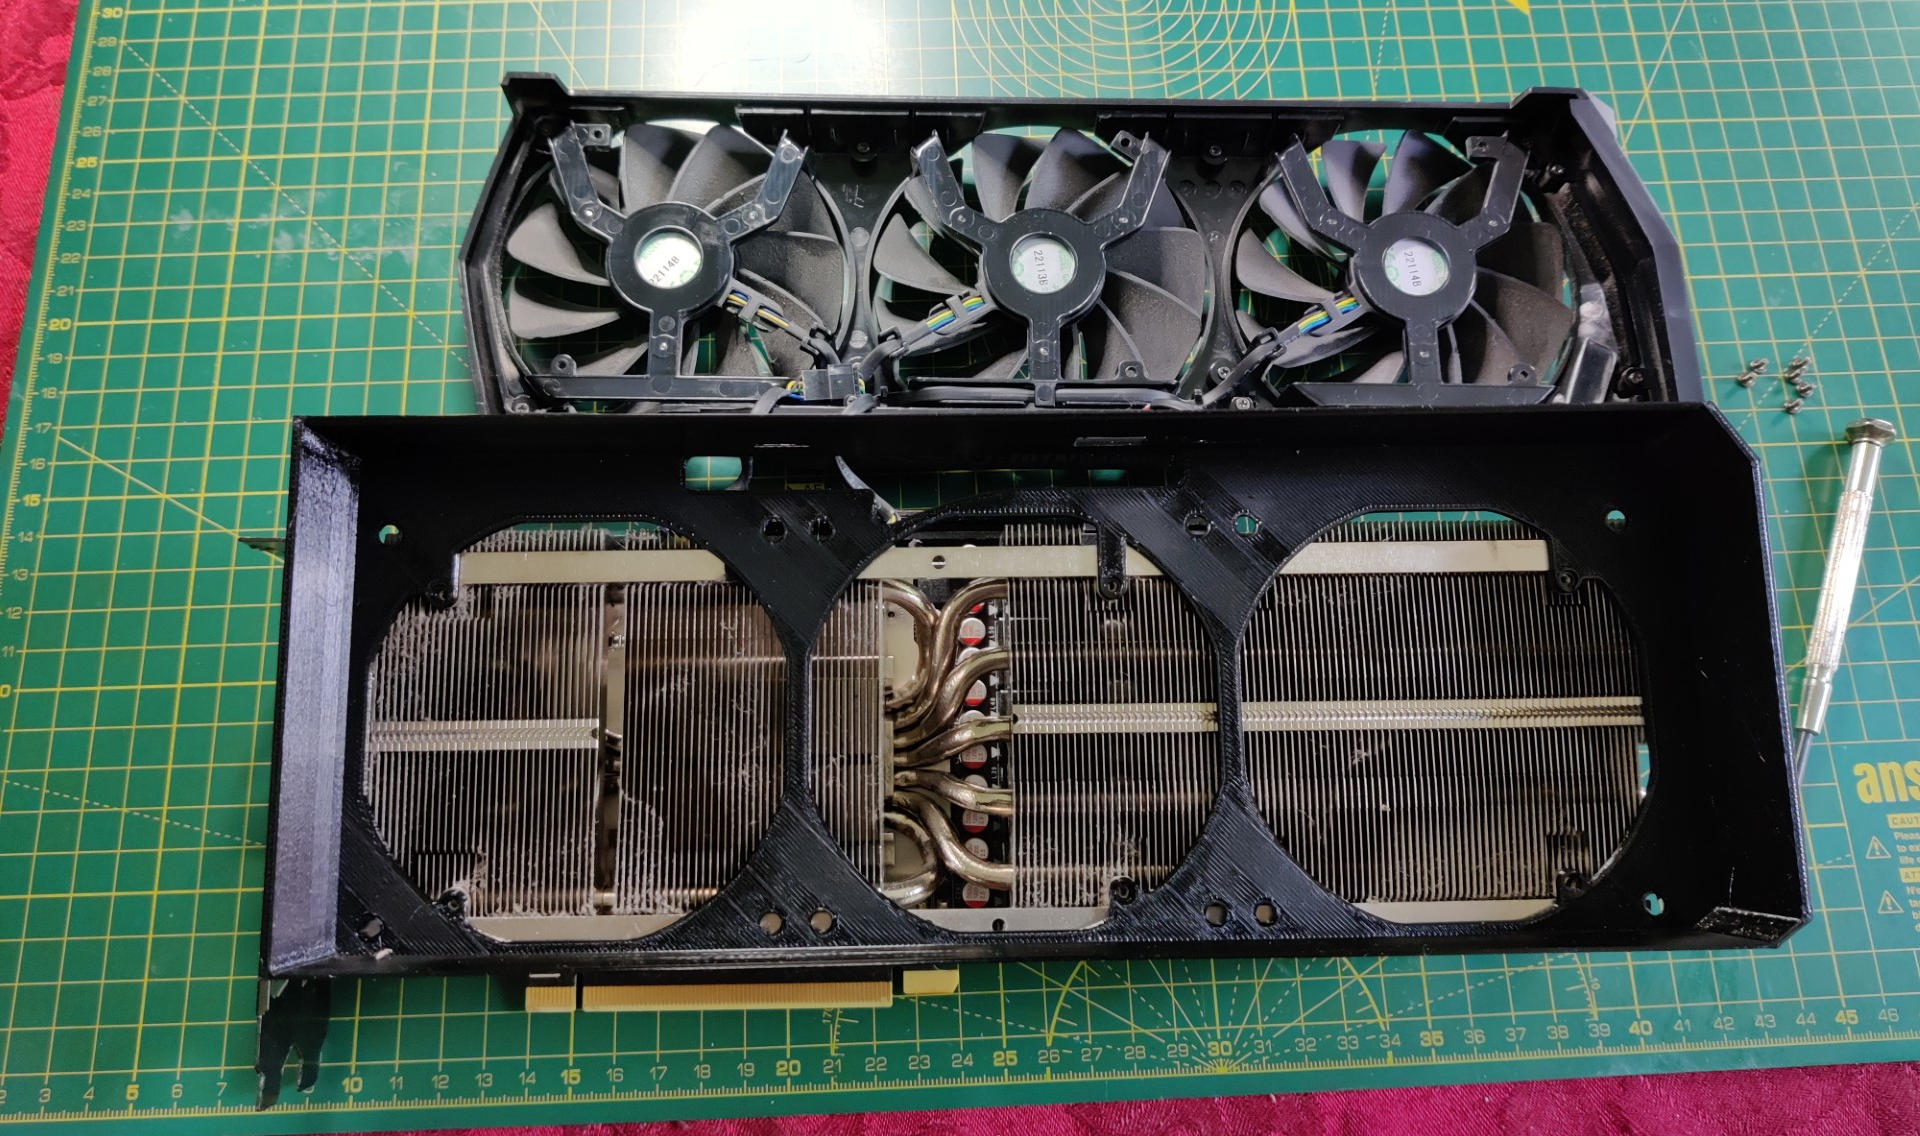
Changing the fans themselves turns out to be easy enough; the stock cooler comes off as a single unit. You just need to remove the 6 screws indicated by the red arrows in the following pic, which you access from between the blades of the fans. Don’t do what I did and undo every screw you see, as the other ones attach the fans to the shroud, and you do not need to undo those.
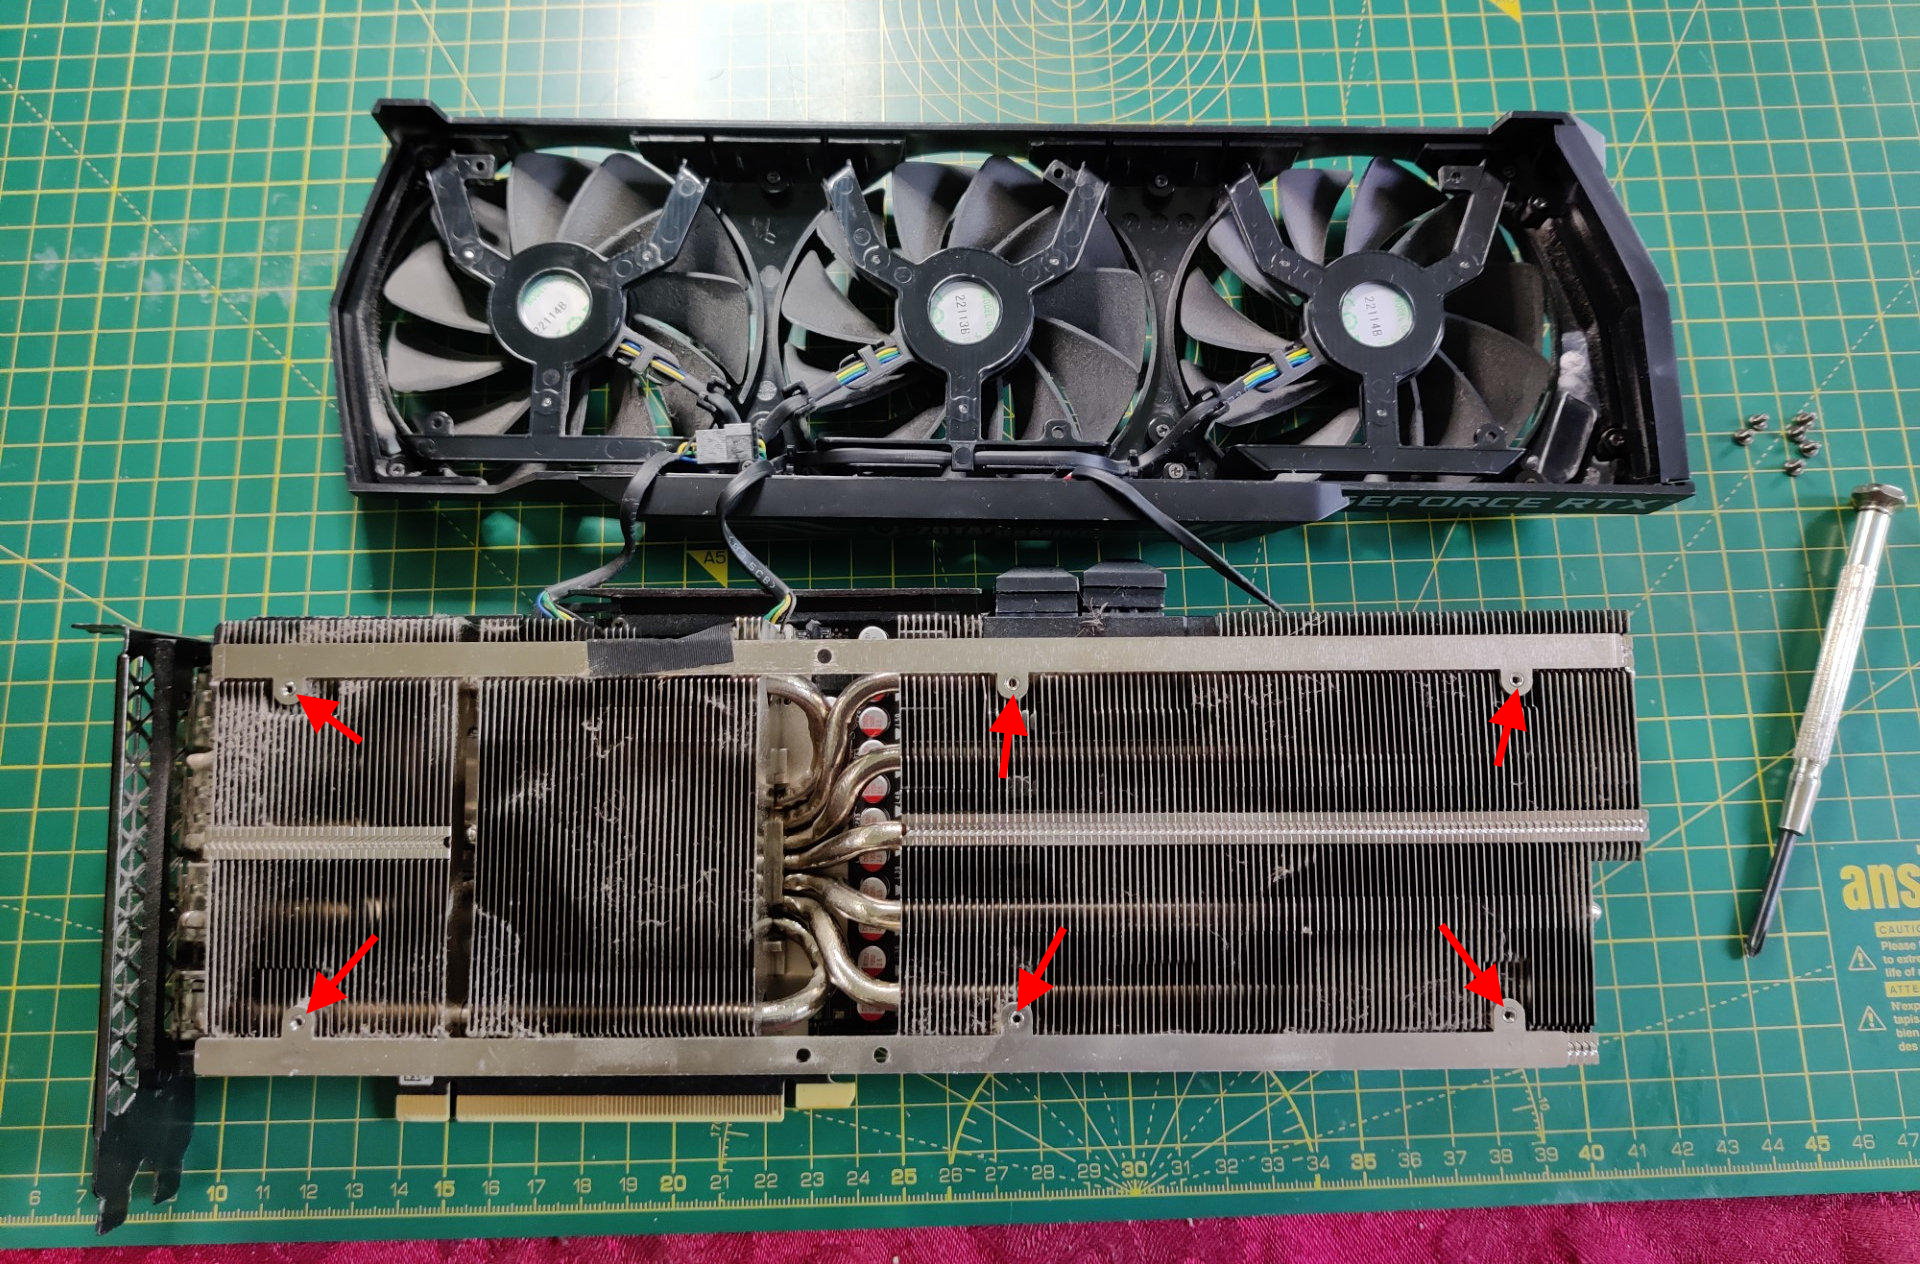
Remove the 6 screws indicated by the red arrows
So, with the stock cooler removed, you just need some suitable fans and suitable adapters. That’s easy enough.
However, the real issue is how to mount them. Ideally you want some kind of adapter plate that makes use of the same holes as the stock cooler uses.
Some posters suggest that you could use cable ties to secure the new fans, but this seems incredibly janky to me, plus my GPU is on show and I wanted things to look nice.
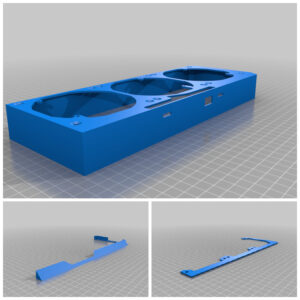
credit: rahgeltus @ Thingiverse
After some research, I found a design on Thingiverse by a poster called rahgeltus, which is designed to hold three 92mm fans and also to hold the stock LED light bar.
This seemed ideal. However, I do not own a 3D printer.
I found a company called Surface Scan who would 3D print it for me. Other companies are available, but this is the company I used.
I decided to just have just the main shroud printed, to save costs. Although, in hindsight, if I were to do it again I would have the cable tidy done too, as we will come to shortly.
Being new to 3D printing I initially went for PLA and then after submitting my order I realised this only has a thermal tolerance of 50°C so I contacted Surface Scan who asked me if I would like PETG at no additional cost, which was very generous of them and I readily accepted.
So next we needed some fans and adapters. I initially went for some Thermalright fans with RGB lighting, but a test fit suggested that there wasn’t really room for all the extra wires and gubbins for the RGB.
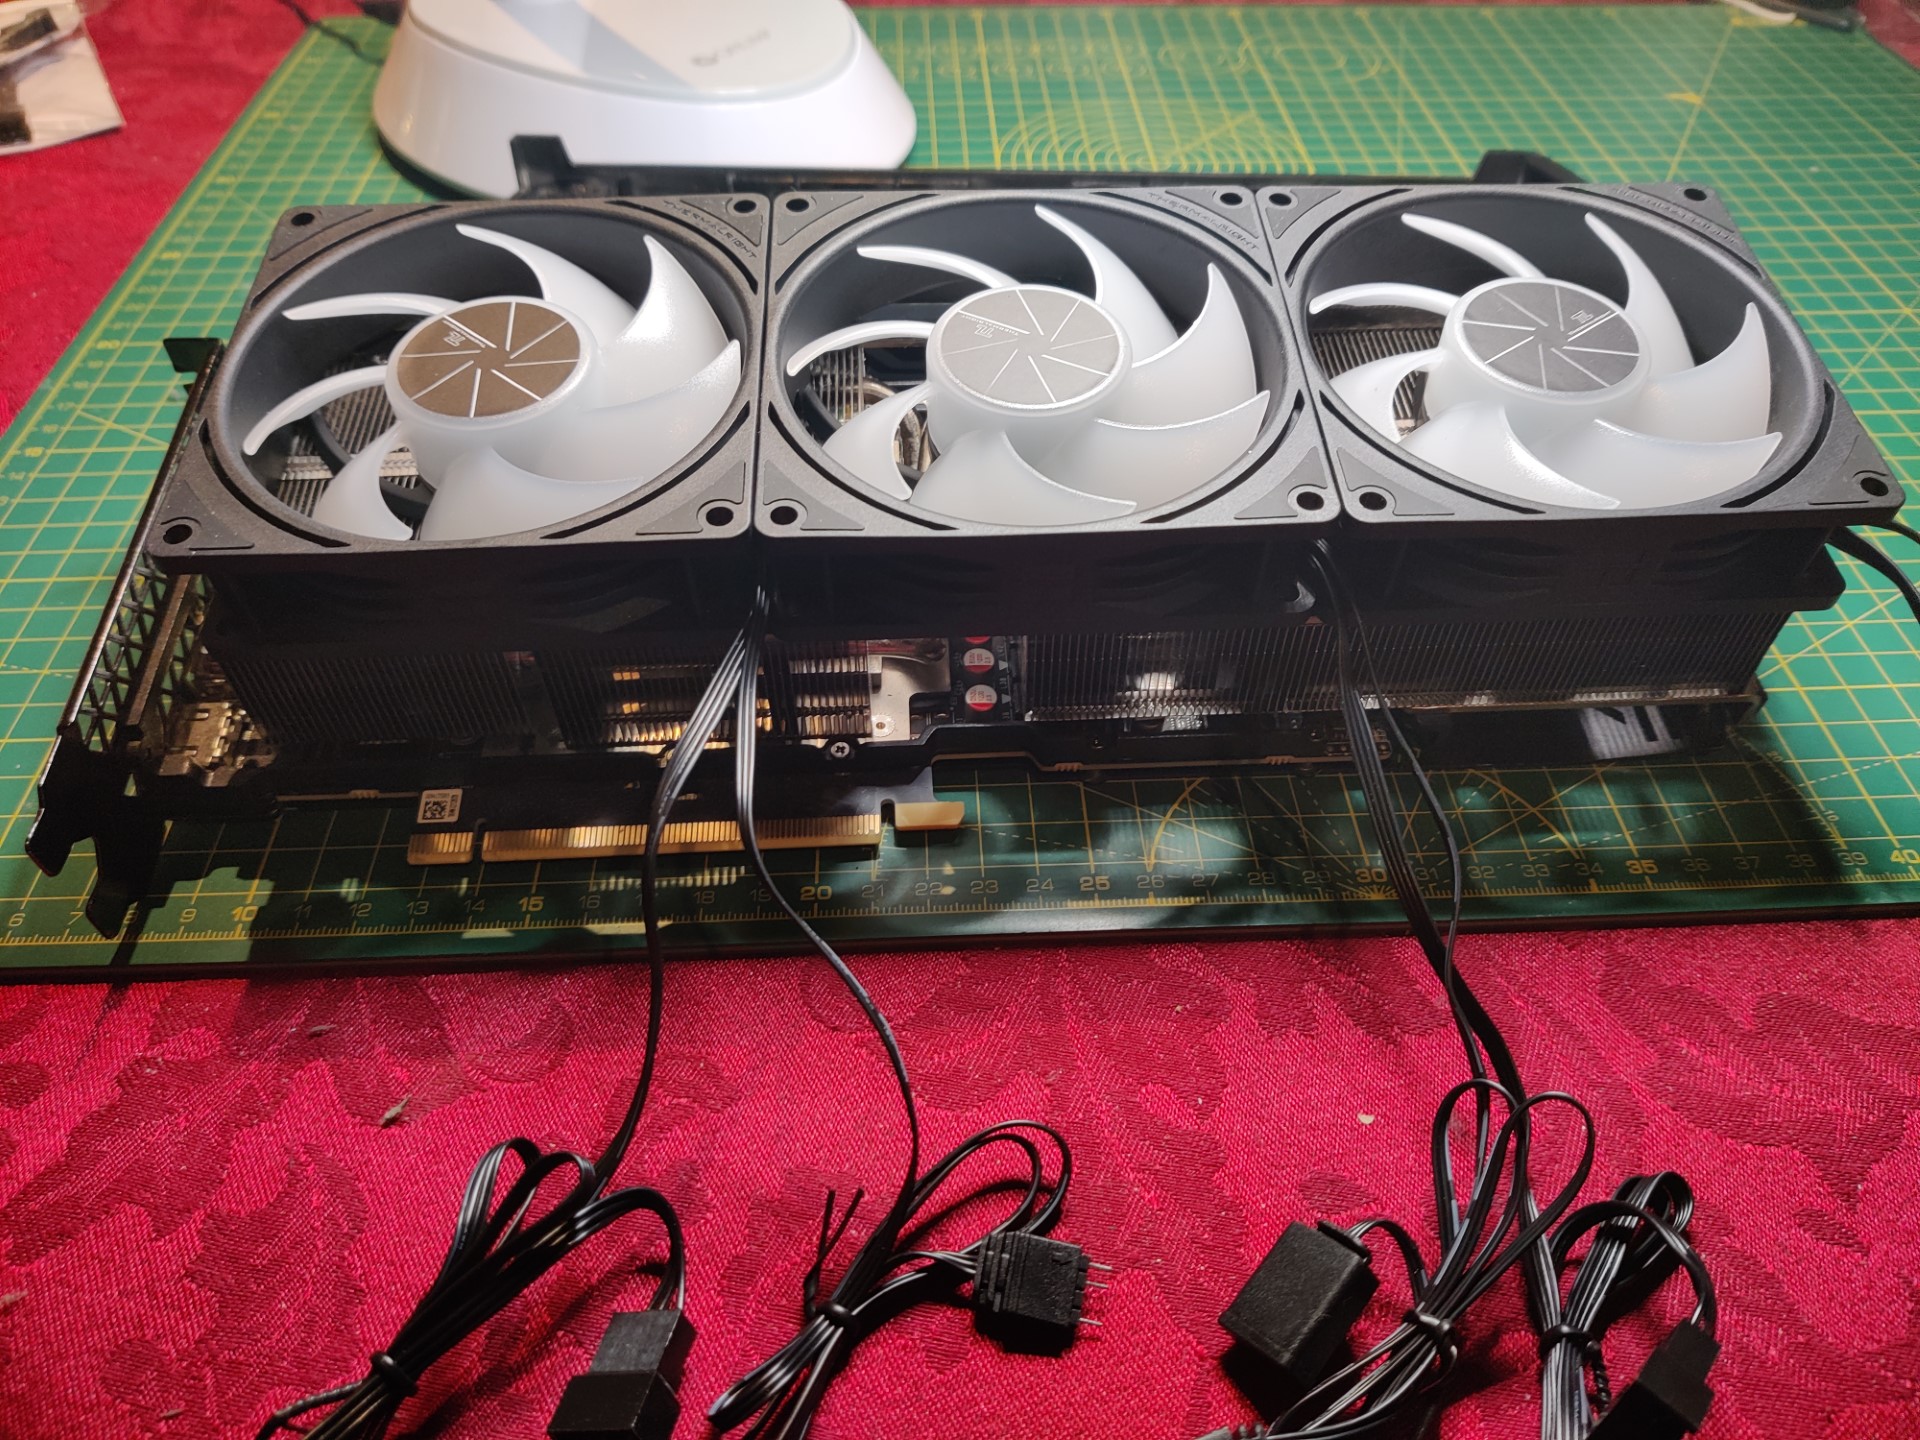
Thermalright fans
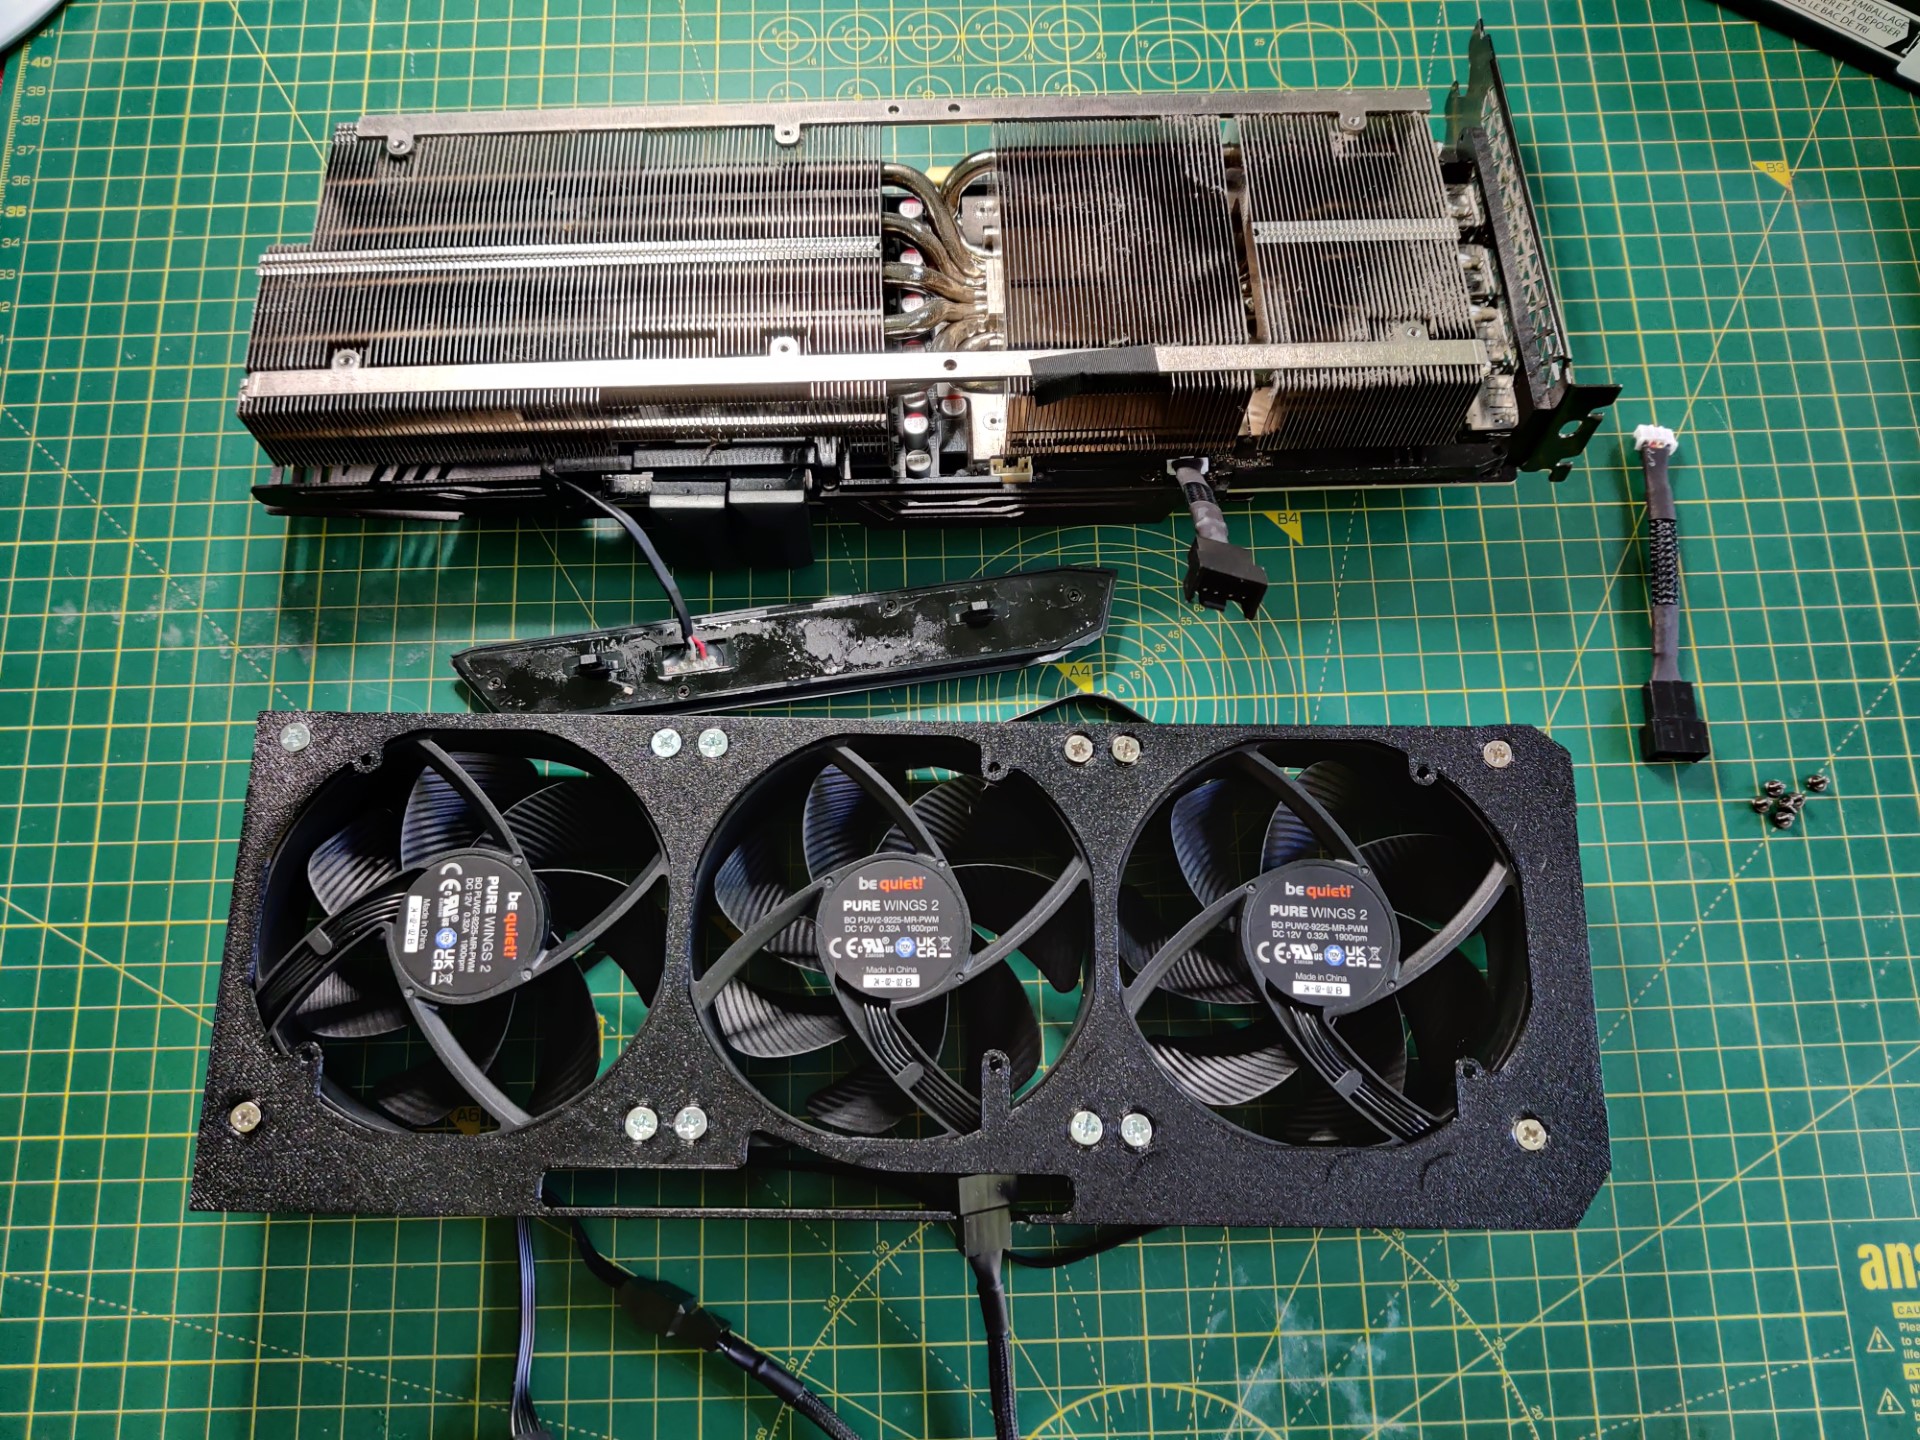
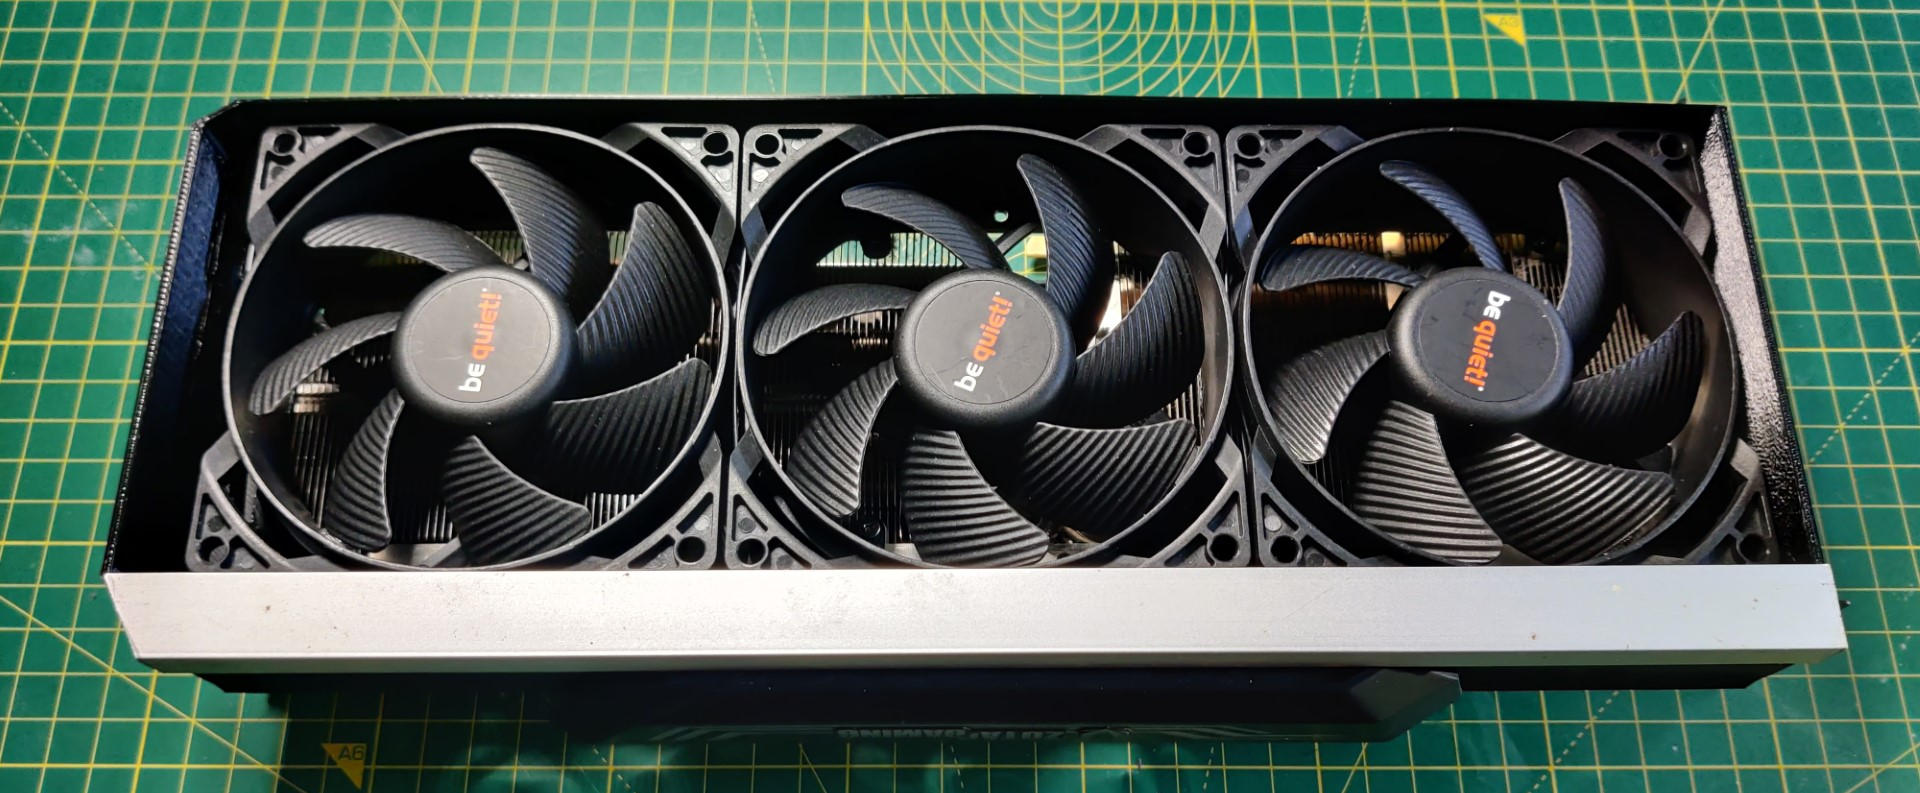
So instead I went for some Pure Wings 2 fans by Be Quiet! who not only make excellent fans, but also my case is by them too.
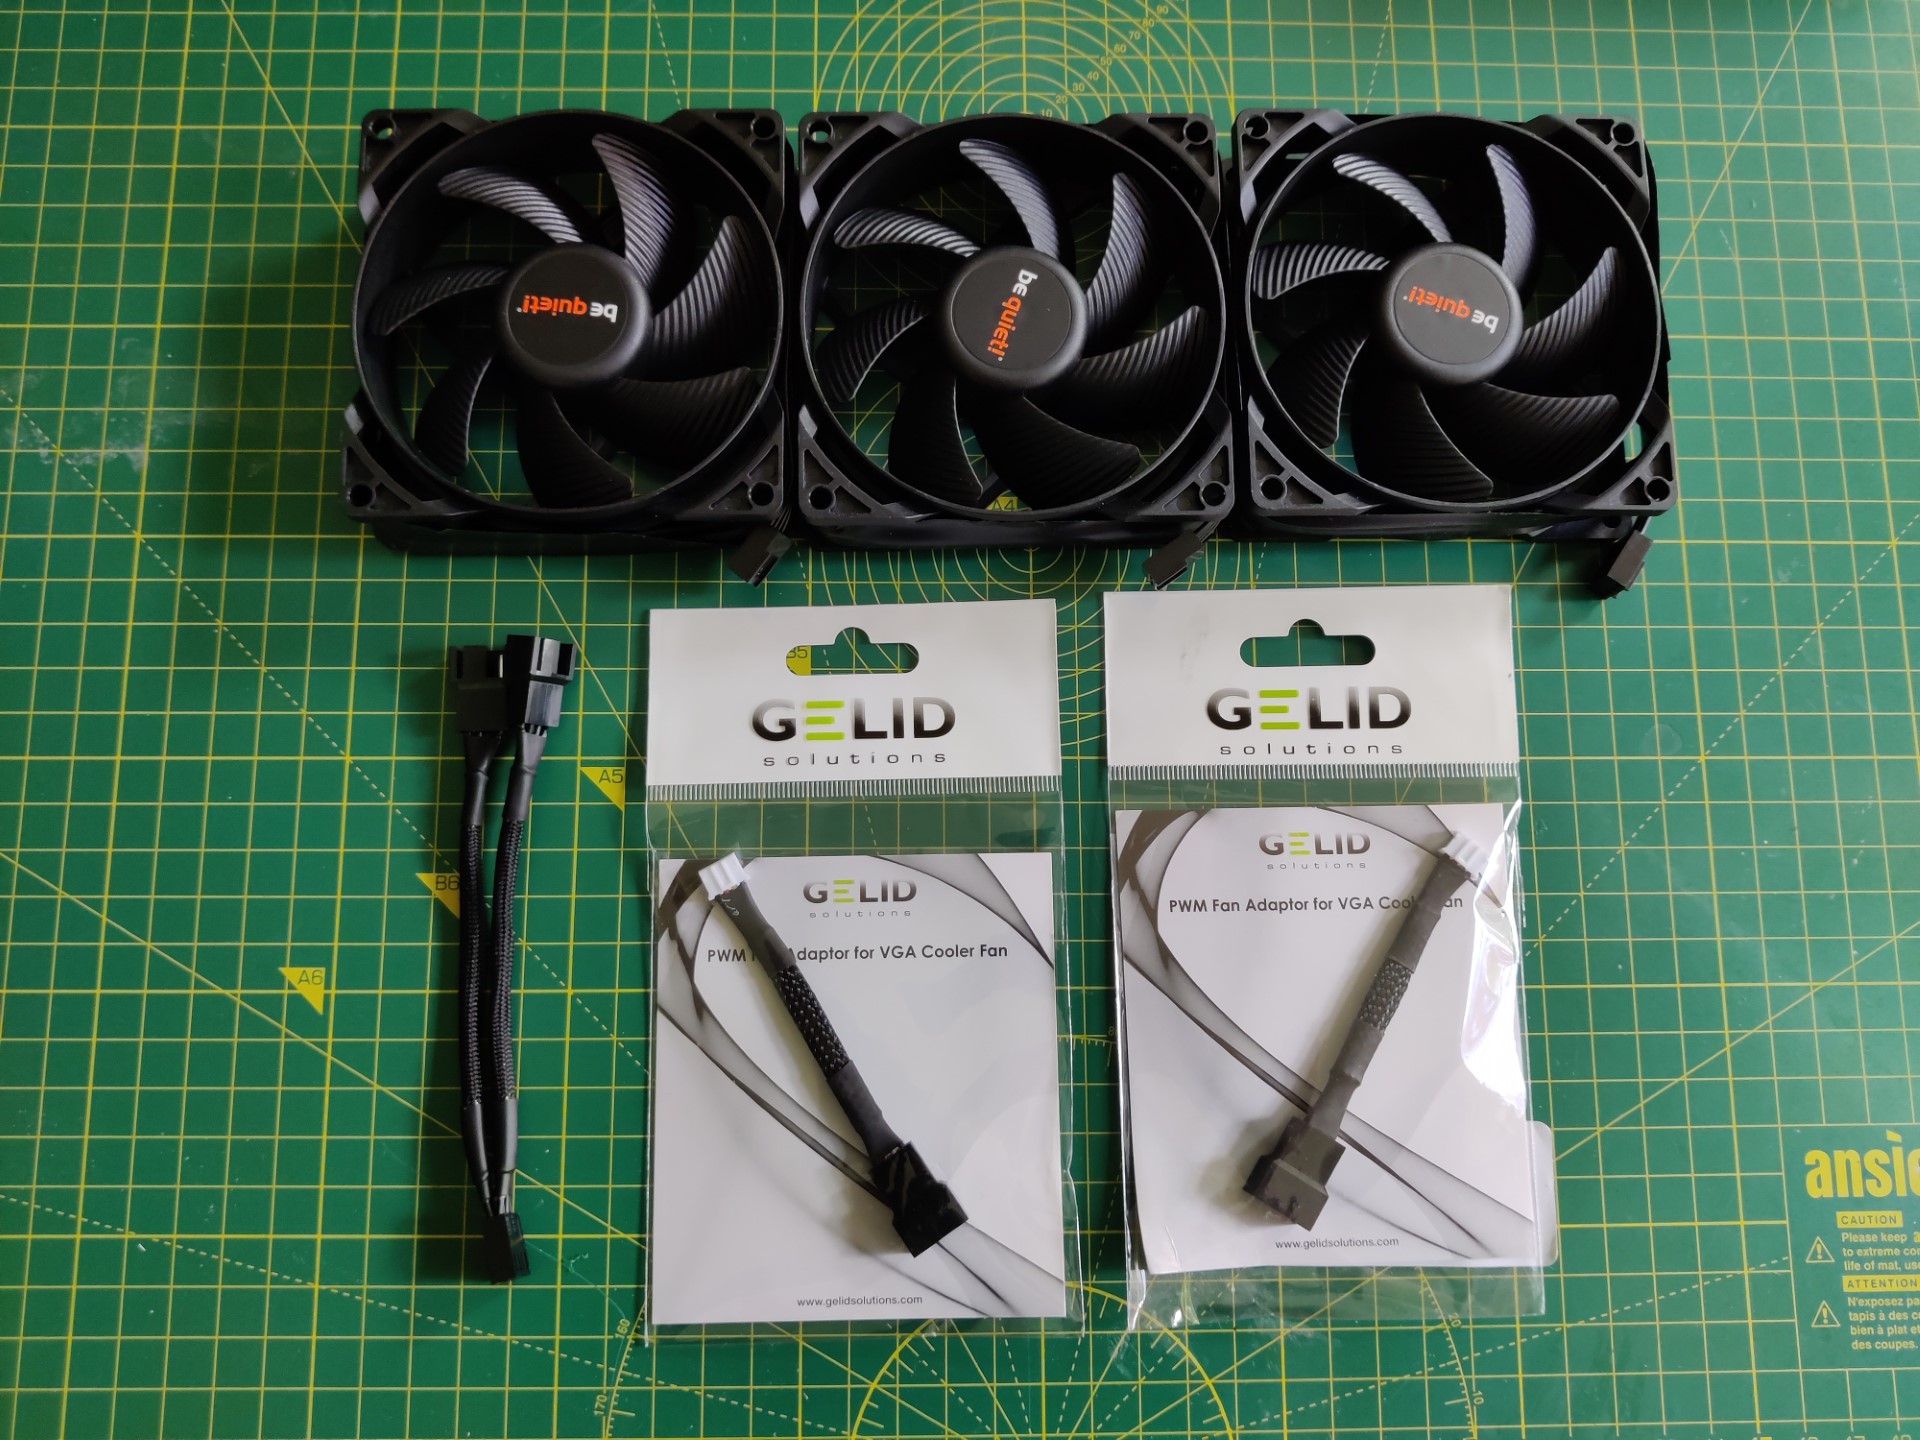
Be Quiet! fans, and also adapters
The graphics card has two fan headers, one of which runs two fans, so in order to use standard PWM fans you need two PWM to GPU fan adapters, plus a PWM fan splitter (the shorter the better).
Eventually the shroud arrived from Surface Scan (I went for their economy service as I really wanted to keep costs down)
Dry fit of the shroud
As you can see from this dry fit, the shroud has tabs that align with the 6 holes that I mentioned earlier.
Installation
Don’t worry, I did clean all that dirt and fluff in the heatsink.
Access to the fan header connectors was really tight, and it was very difficult to detach the connectors from the old fans and connect the fan adapters. The connector for the light bar was even more inaccessible and indeed I could not see how to access this without removing the entire heatsink, which I did not fancy doing.

LED bar
So, instead, I modified the shroud to allow the LED bar to be fitted without it needing to be unplugged first. As you can see, I did damage the shroud in doing so but fortunately the damage cannot be seen (see later).
The reason I caused the damage is that I enlarged the hole using wire cutters, and the cutting action caused the plastic to crack. If I were doing it again I would probably use a Dremel with a cutting disc.
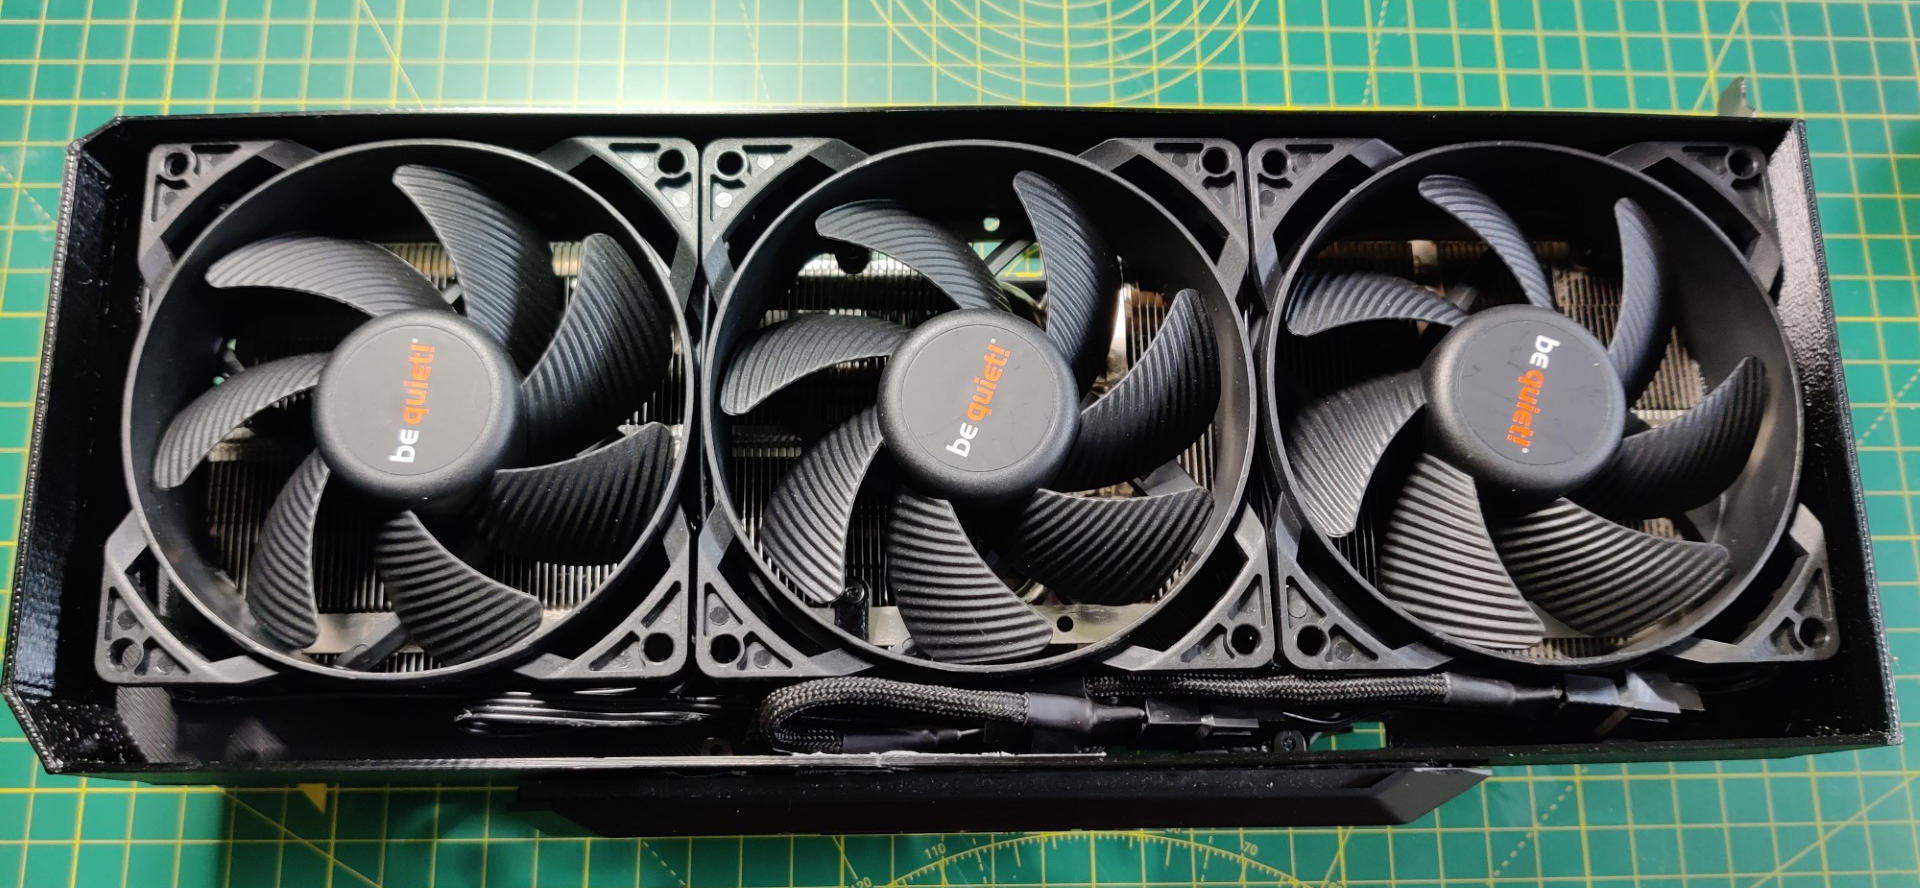
Installed
With everything installed, I could see that I really needed some kind of cover to hide those cables and also to stop them flopping out. With hindsight, I should have just paid the extra for the cover that rahgeltus also designed (see earlier)
Instead, I had some angle brushed Aluminium left over from another project, and this did the job nicely. It also covered the damage to the shroud that I had caused.
Aluminium strip
To be honest, I could have just left it bare as it looks quite cool in bare anodised silver. But instead I decided to spray paint it red.
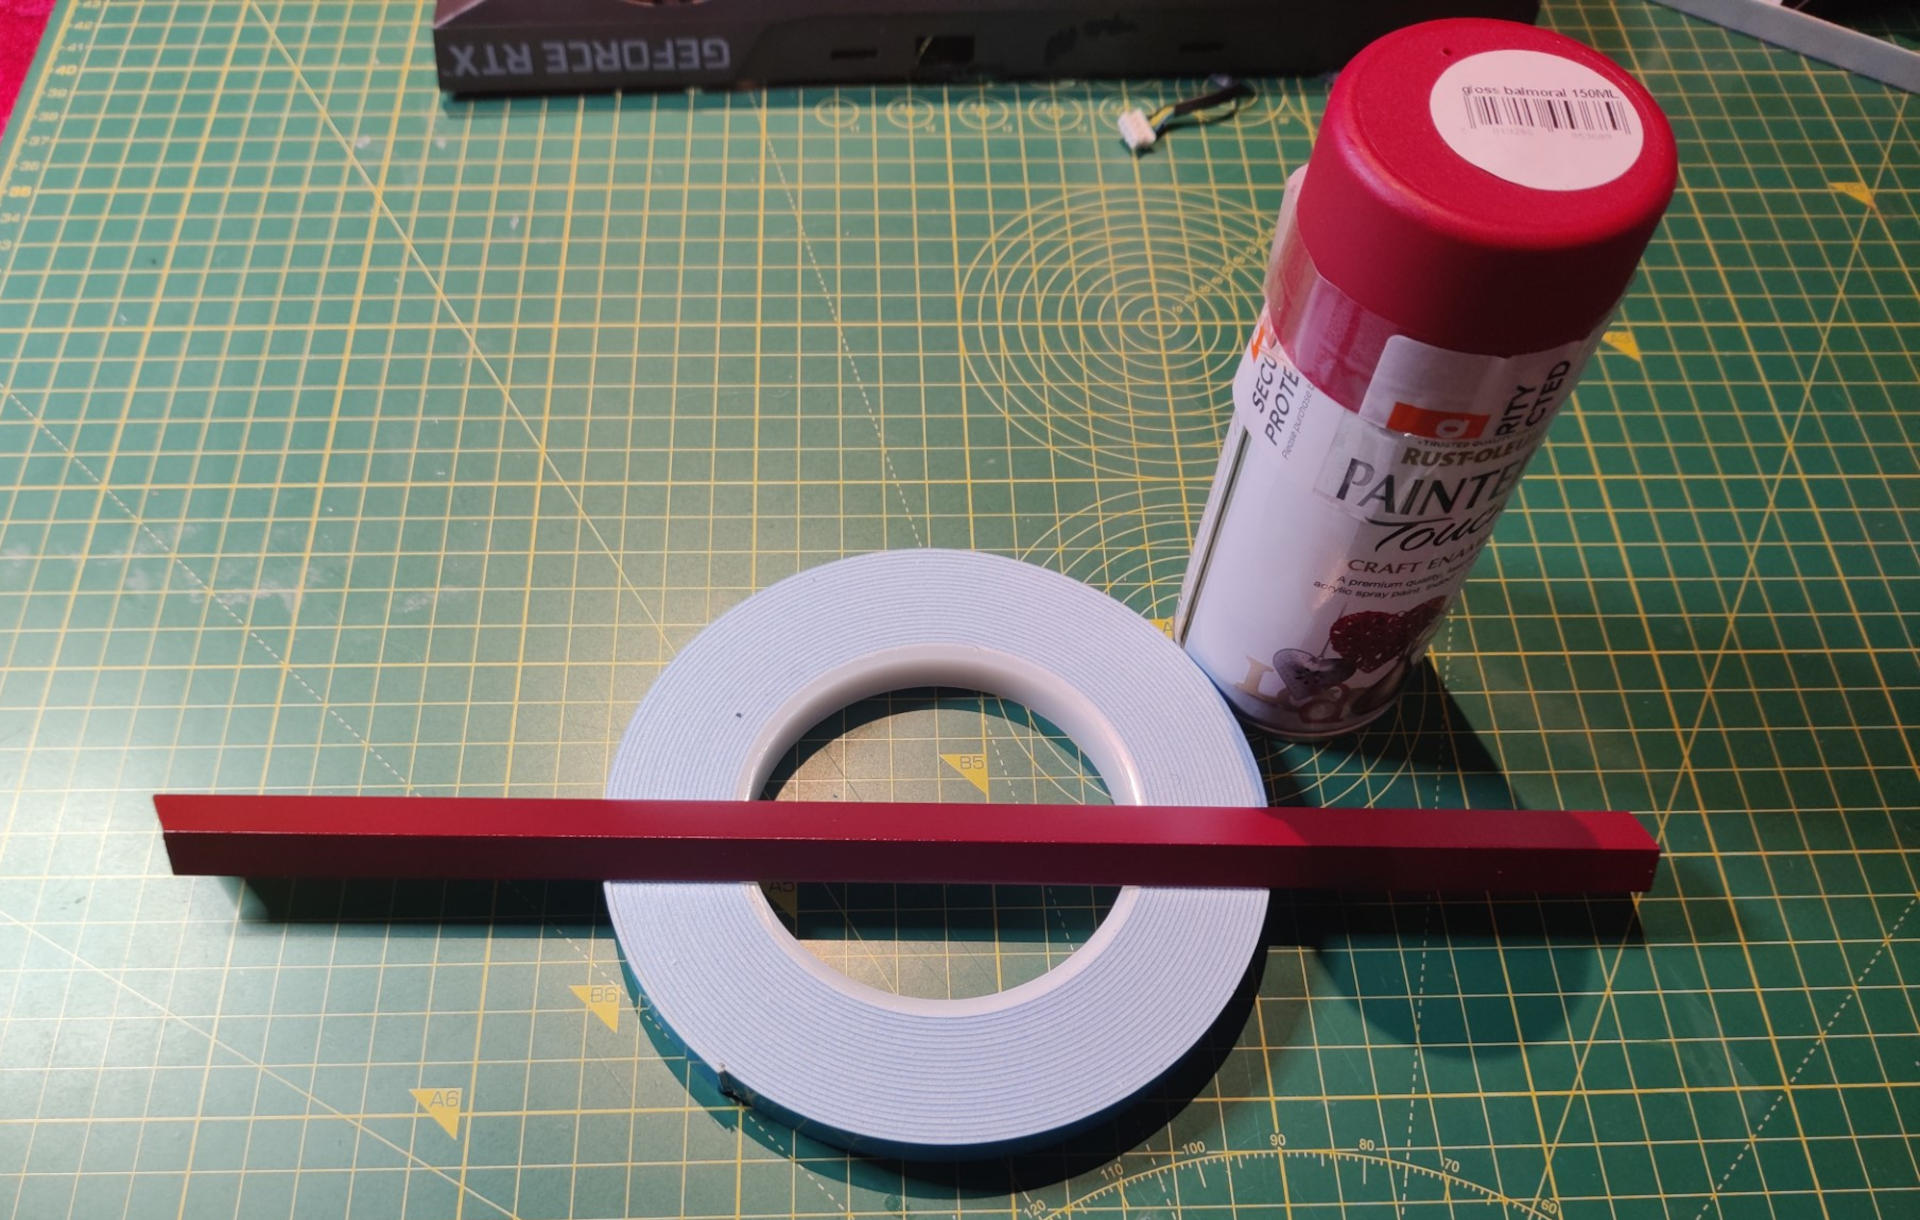
Red strip
I attached it using double-side tape.
And with that, it was done.
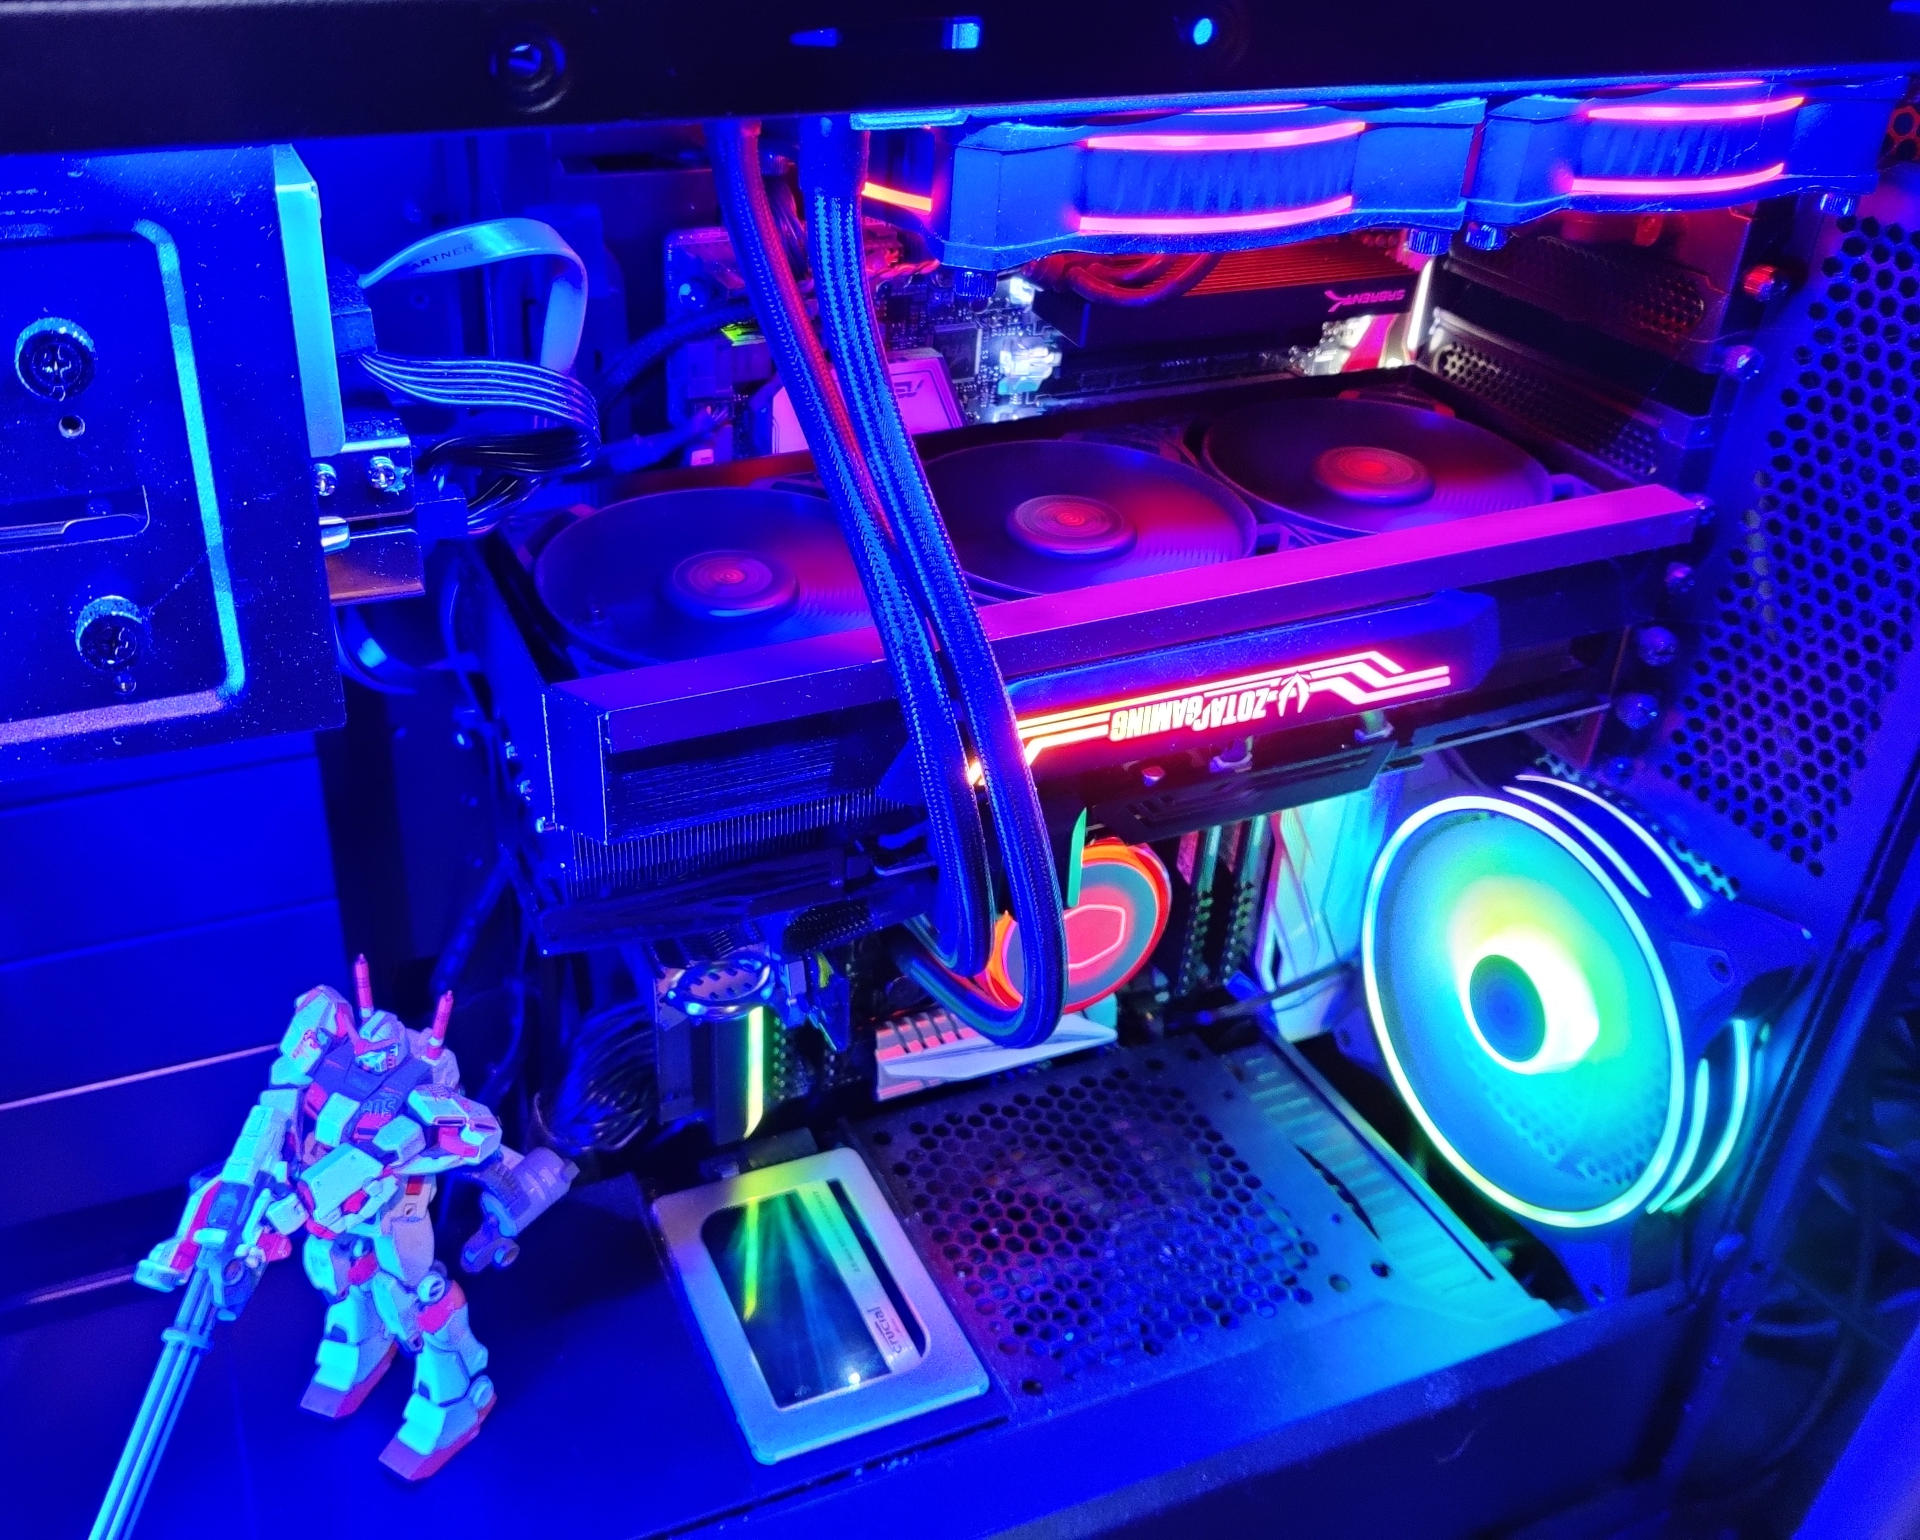
The finished item
Given that I run an inverted case, it would have been nice if I could have rotated the LED light bar. However, I would have had to extend the wires to do so and also maybe modify the shroud, and I didn’t want to make any irreversible changes to the card itself so as not to hurt resale value, so I just live with it inverted.
I suppose, with hindsight, I could have investigated just buying better fans. I never thought of that. But there would have been no guarantee of an improvement and it it could be that the stock shroud contributes to the noise.
Update:
I’ve since sold the card, reverting it to stock before doing so, but I have some thoughts on how I would have done this differently.
Firstly, because I am now so much more confident removing heatsinks from graphics cards, and then re-pasting after, I totally would have taken the heatsink off in order to get better access to the fan connectors and to the LED connector. I wouldn’t even attempt to do the job without removing the heatsink now.
I also wouldn’t have bothered with the anodised aluminium. You can get black plastic angle strip very inexpensively and that would have been more than sufficient. Indeed, I ended up using that as a lower shroud extension to improve airflow over the heatsink as the 3D-printed one sits atop the heatsink whereas the stock one wraps around it.
I also used an off-cut of the black plastic strip to strengthen and repair the damage to the shroud, because on a subsequent 3D-printing order I got the cable retainer printed.
I must get round to selling the shroud and fans on eBay. Someone may have a use for it. But I will only sell it for more than the fans, adapters, and splitter are worth otherwise I may as well just keep them.